

Prepare and Submit the Build Request Form
This documentation walks through every item you need and every field in the Build Request Form so you can submit a complete, correct form on the first attempt.
Before You Fill the Form
Section titled “Before You Fill the Form”Collect every item in this table before opening the form. A missing item mid-submission means starting over or delaying your build.
| Item | What it is | Where to get it | Guide |
|---|---|---|---|
| App icon | 1024×1024 PNG, no transparency | Design tool of your choice | Preparing Your App Icon and Splash Screen |
| Privacy policy URL | A live, publicly accessible page on your store | WordPress Pages | – |
| Apple Developer Access | Organizational account, required for iOS app submission | developer.apple.com | Creating Apple Developer Account |
| Google Developer access | Google Play Console account for Android app submission | play.google.com/console | Creating Google Developer Account |
| Firebase project | Required for Android push notifications | console.firebase.google.com | Creating Firebase Account |
| OneSignal account | Push notification provider | onesignal.com | Creating OneSignal Account |
| WordPress Admin credentials | Admin username and password for your WooCommerce site | Your WP Admin | — |
Where to Find the Form
Section titled “Where to Find the Form”- Log in to storepulse.co.
- Go to My Account > Mobile Apps.
- Click PocketStore. You will see the Build Request Form on that page. Scroll down to begin filling it out.
Form Walkthrough
Section titled “Form Walkthrough”Work through each section of the form in order. Ensuring you fill up all the requirements will streamline the process.
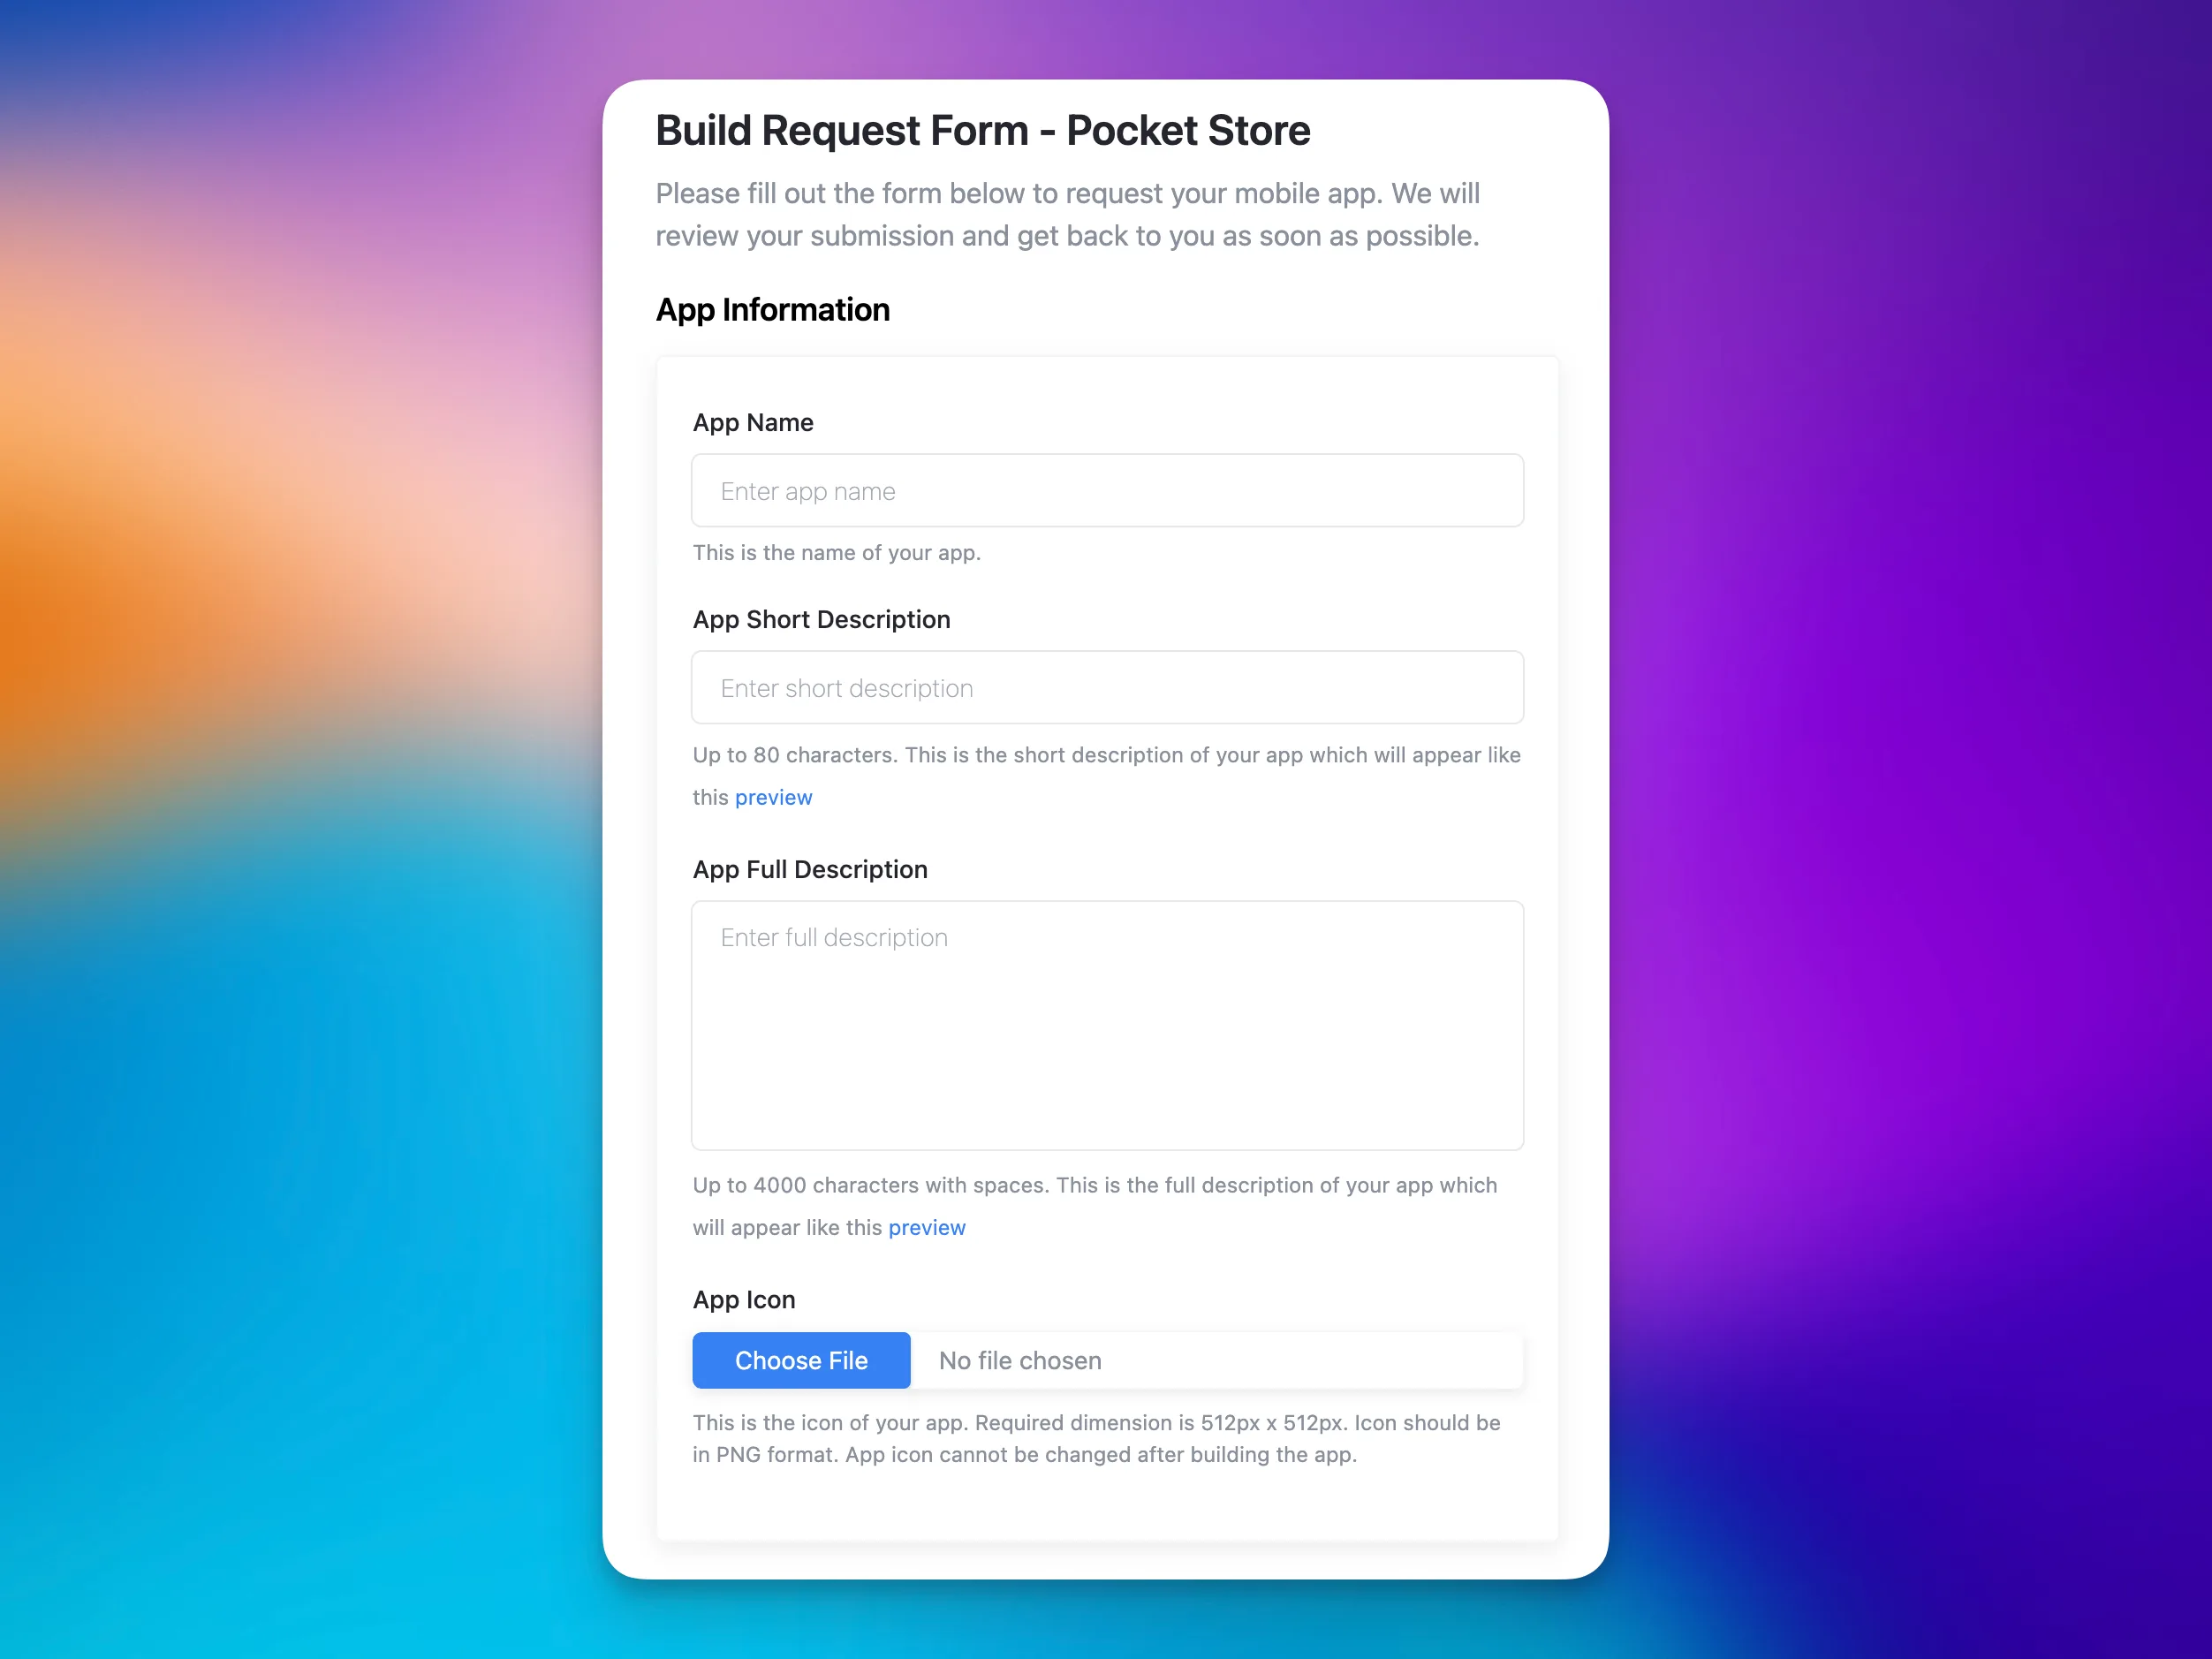
Step 1: App Details
Section titled “Step 1: App Details”These fields define what appears in the app stores and on your users’ devices. Fill them carefully: app store listings are difficult to change after approval.
- Enter your App name. Keep it short, avoid special characters, and match your store brand.
- Enter your Short description. Up to 80 characters. This appears in app store search results.
- Enter your Full description. Up to 4,000 characters. This is your full App Store and Google Play listing description.
- Upload your App icon. Use the 1024×1024 PNG you prepared.
Step 2: Business and Contact Information
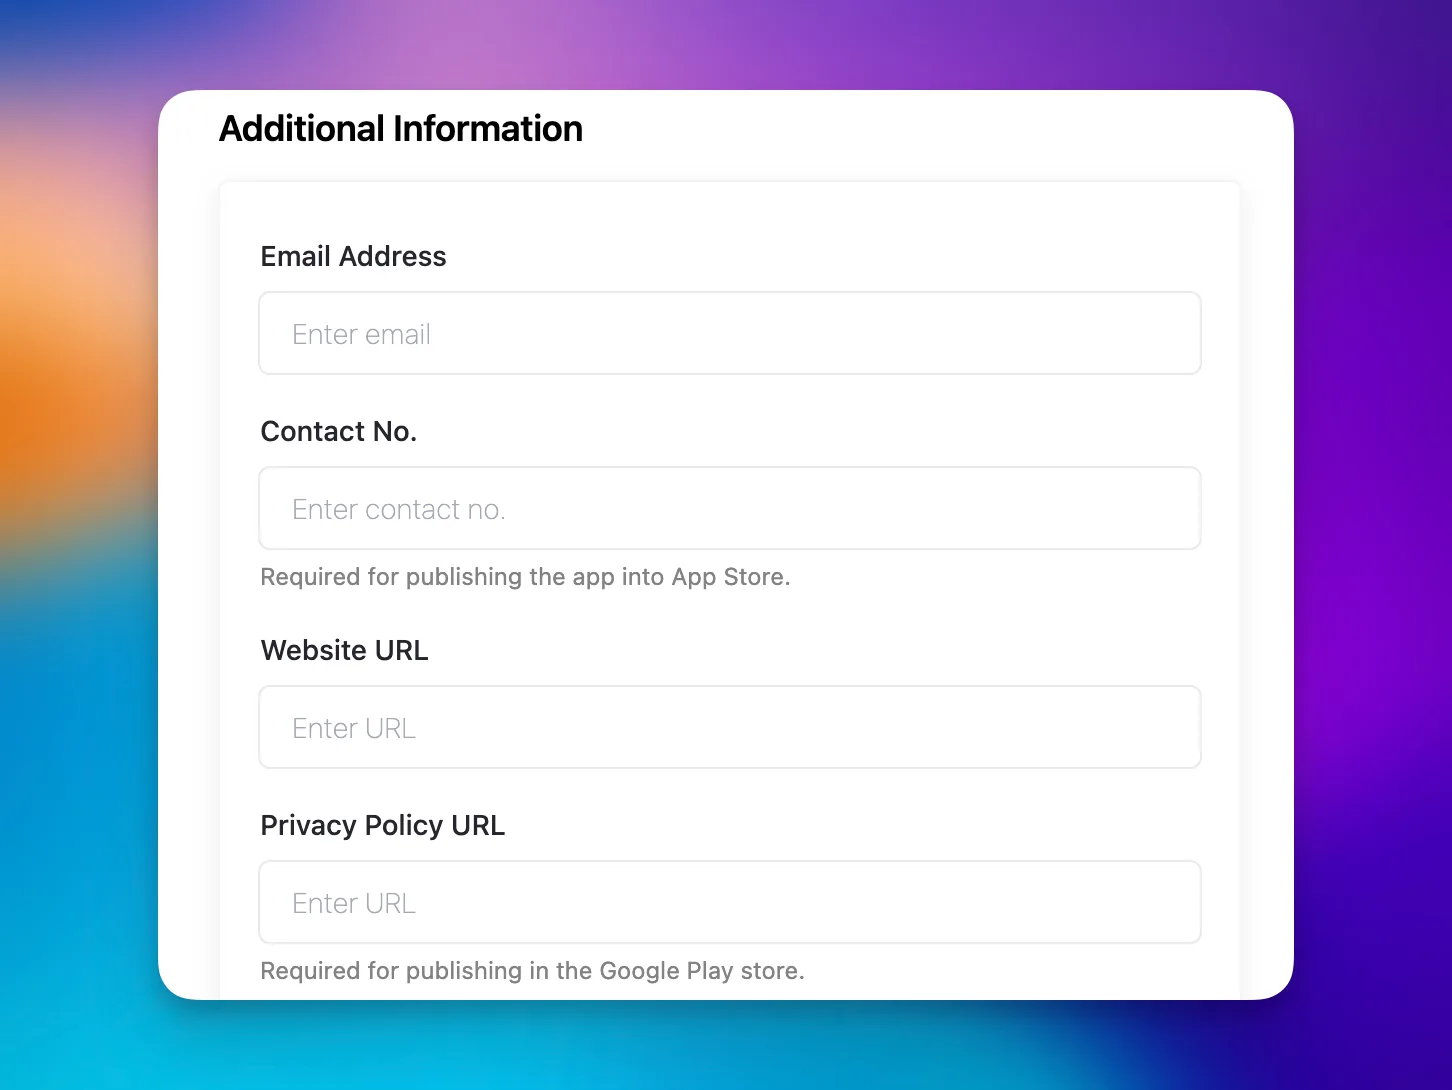
Section titled “Step 2: Business and Contact Information”The build team uses your contact details throughout the build process. App stores may also contact you directly during their review.
- Enter your Email address. Use an address you monitor daily. This is the primary contact for the build team.
- Enter your Phone number. App stores sometimes require this during their review process.
- Enter your Website URL. This is your WooCommerce store URL.
- Enter your Privacy policy URL. This must be a live, publicly accessible page on your store.
Step 3: WordPress Site Credentials
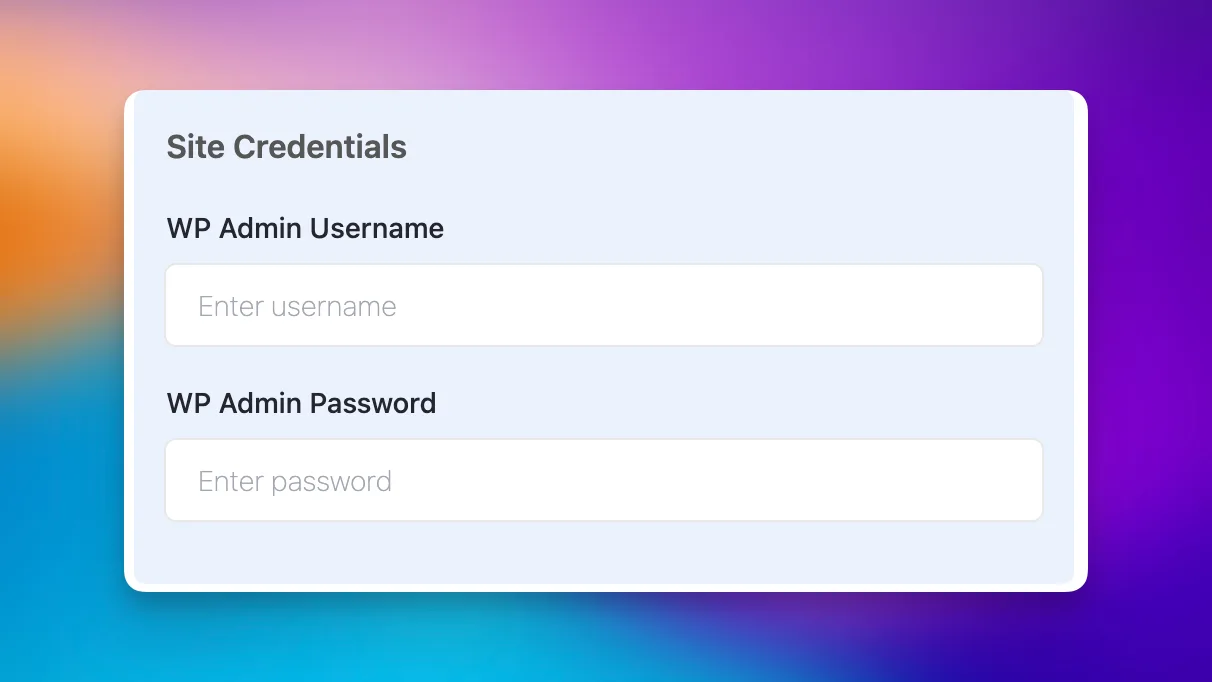
Section titled “Step 3: WordPress Site Credentials”Provide an admin-level WordPress username and password for your WooCommerce site. This will help us connect your store to your app and configure all the necessary settings.
- Enter your WordPress admin username.
- Enter your WordPress admin password.
Step 4: OneSignal Credentials
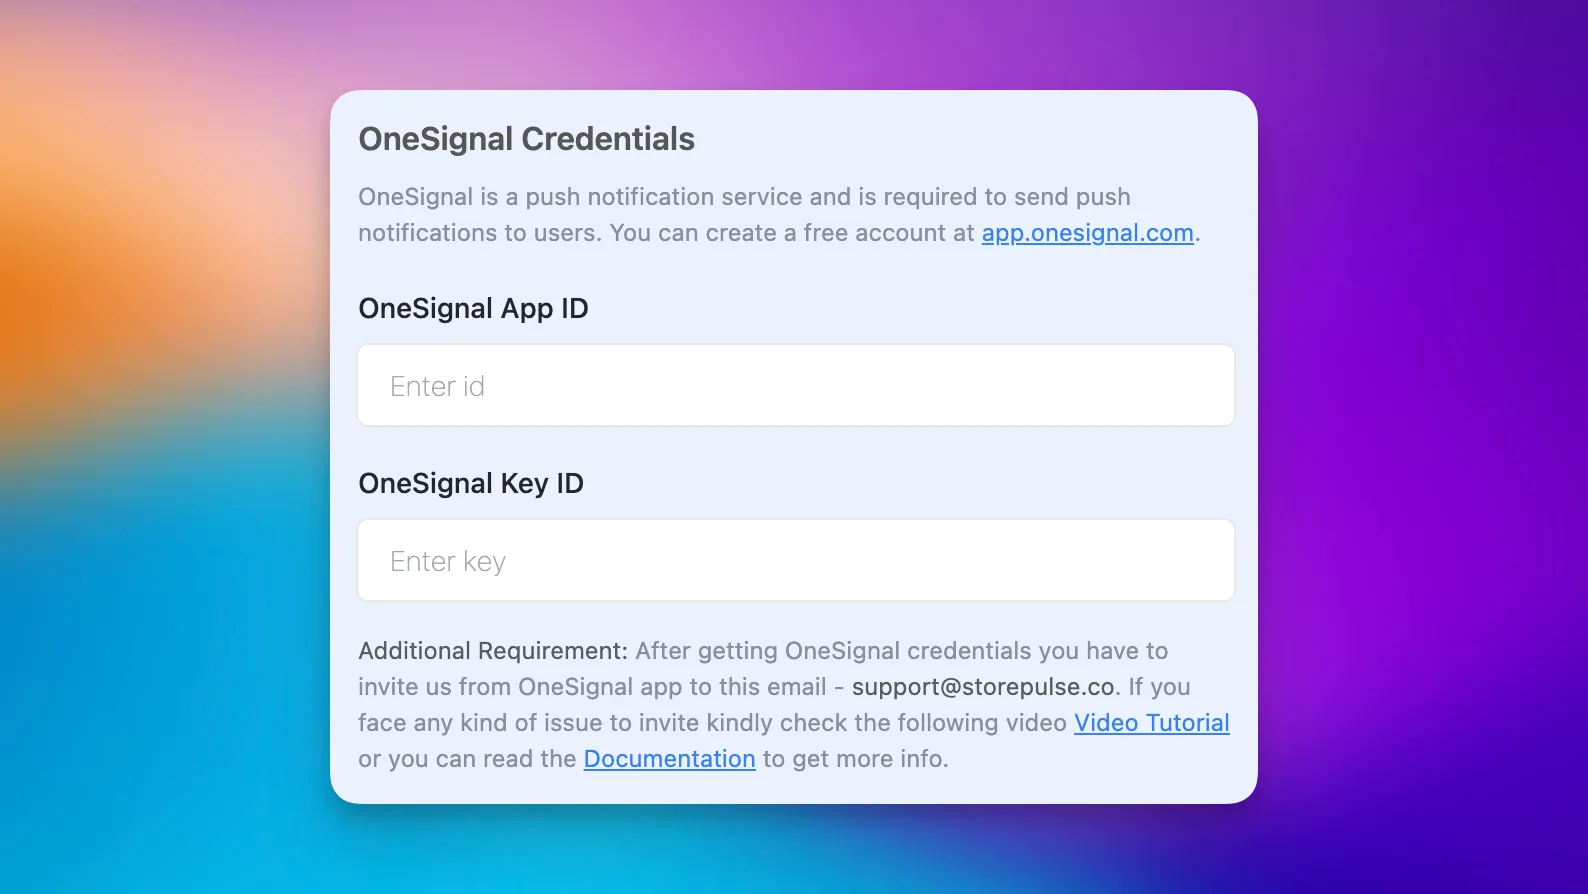
Section titled “Step 4: OneSignal Credentials”PocketStore uses OneSignal to send push notifications to your customers. You need two values from your OneSignal account.
- Enter your OneSignal App ID. Find it in your OneSignal Dashboard under Settings > Keys & IDs.
- Enter your OneSignal REST API Key. This is a secret token that lets PocketStore send push notifications through your OneSignal account.
Step 5: Developer Account Access
Section titled “Step 5: Developer Account Access”You need to invite the StorePulse team to your developer accounts before the build can begin. Please share the access to this email – support@storepulse.co. Use this address when sending invitations to all three platforms below.
- Enter your Apple Developer invitation. Invite the StorePulse team email as an Admin under Users and Access in the Apple Developer portal.
- Enter your Google Play invitation. Add the StorePulse team email as Release Manager or Admin under Setup > Users and Permissions in the Play Console.
- Enter your Firebase invitation. Add the StorePulse team email as Owner under Project Settings > Users and Permissions in the Firebase Console.
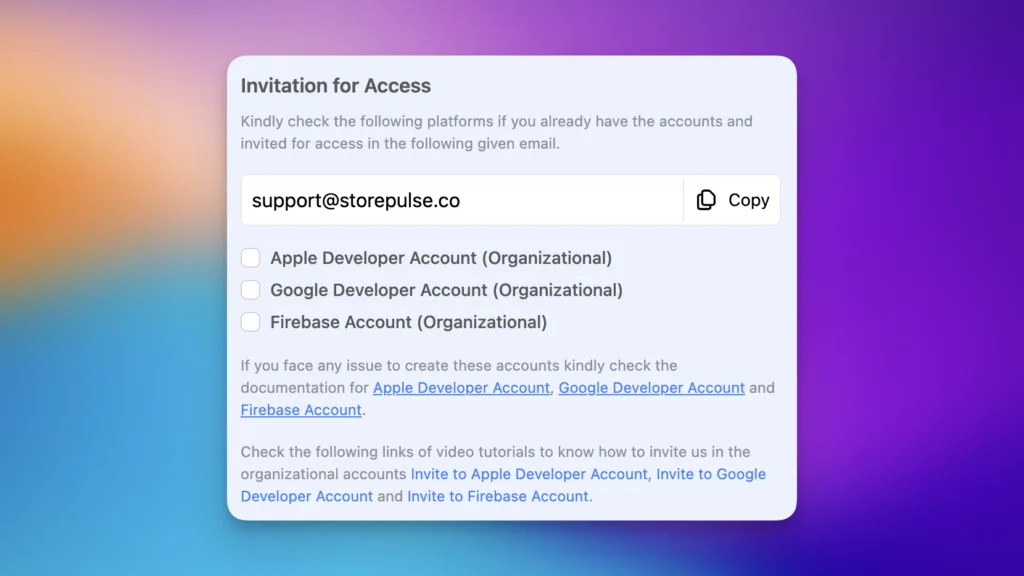
Once we receive the invitation, we can access your accounts and begin the build.
Step 6: Social Login Credentials
Section titled “Step 6: Social Login Credentials”If you want to offer social login in your app, enter the credentials for each provider you set up. All social login providers are optional, with one exception: if your app includes any social login on iOS, Apple Sign-In must also be configured.
We would need the following credentials:
- Apple Sign-In credentials: Service ID, Team ID, Key ID, and Key Content.
- Facebook App ID and Client Token.
- Google Client ID and Client Secret.
- Twitter API Key and API Secret.
- LinkedIn Client ID and Client Secret.
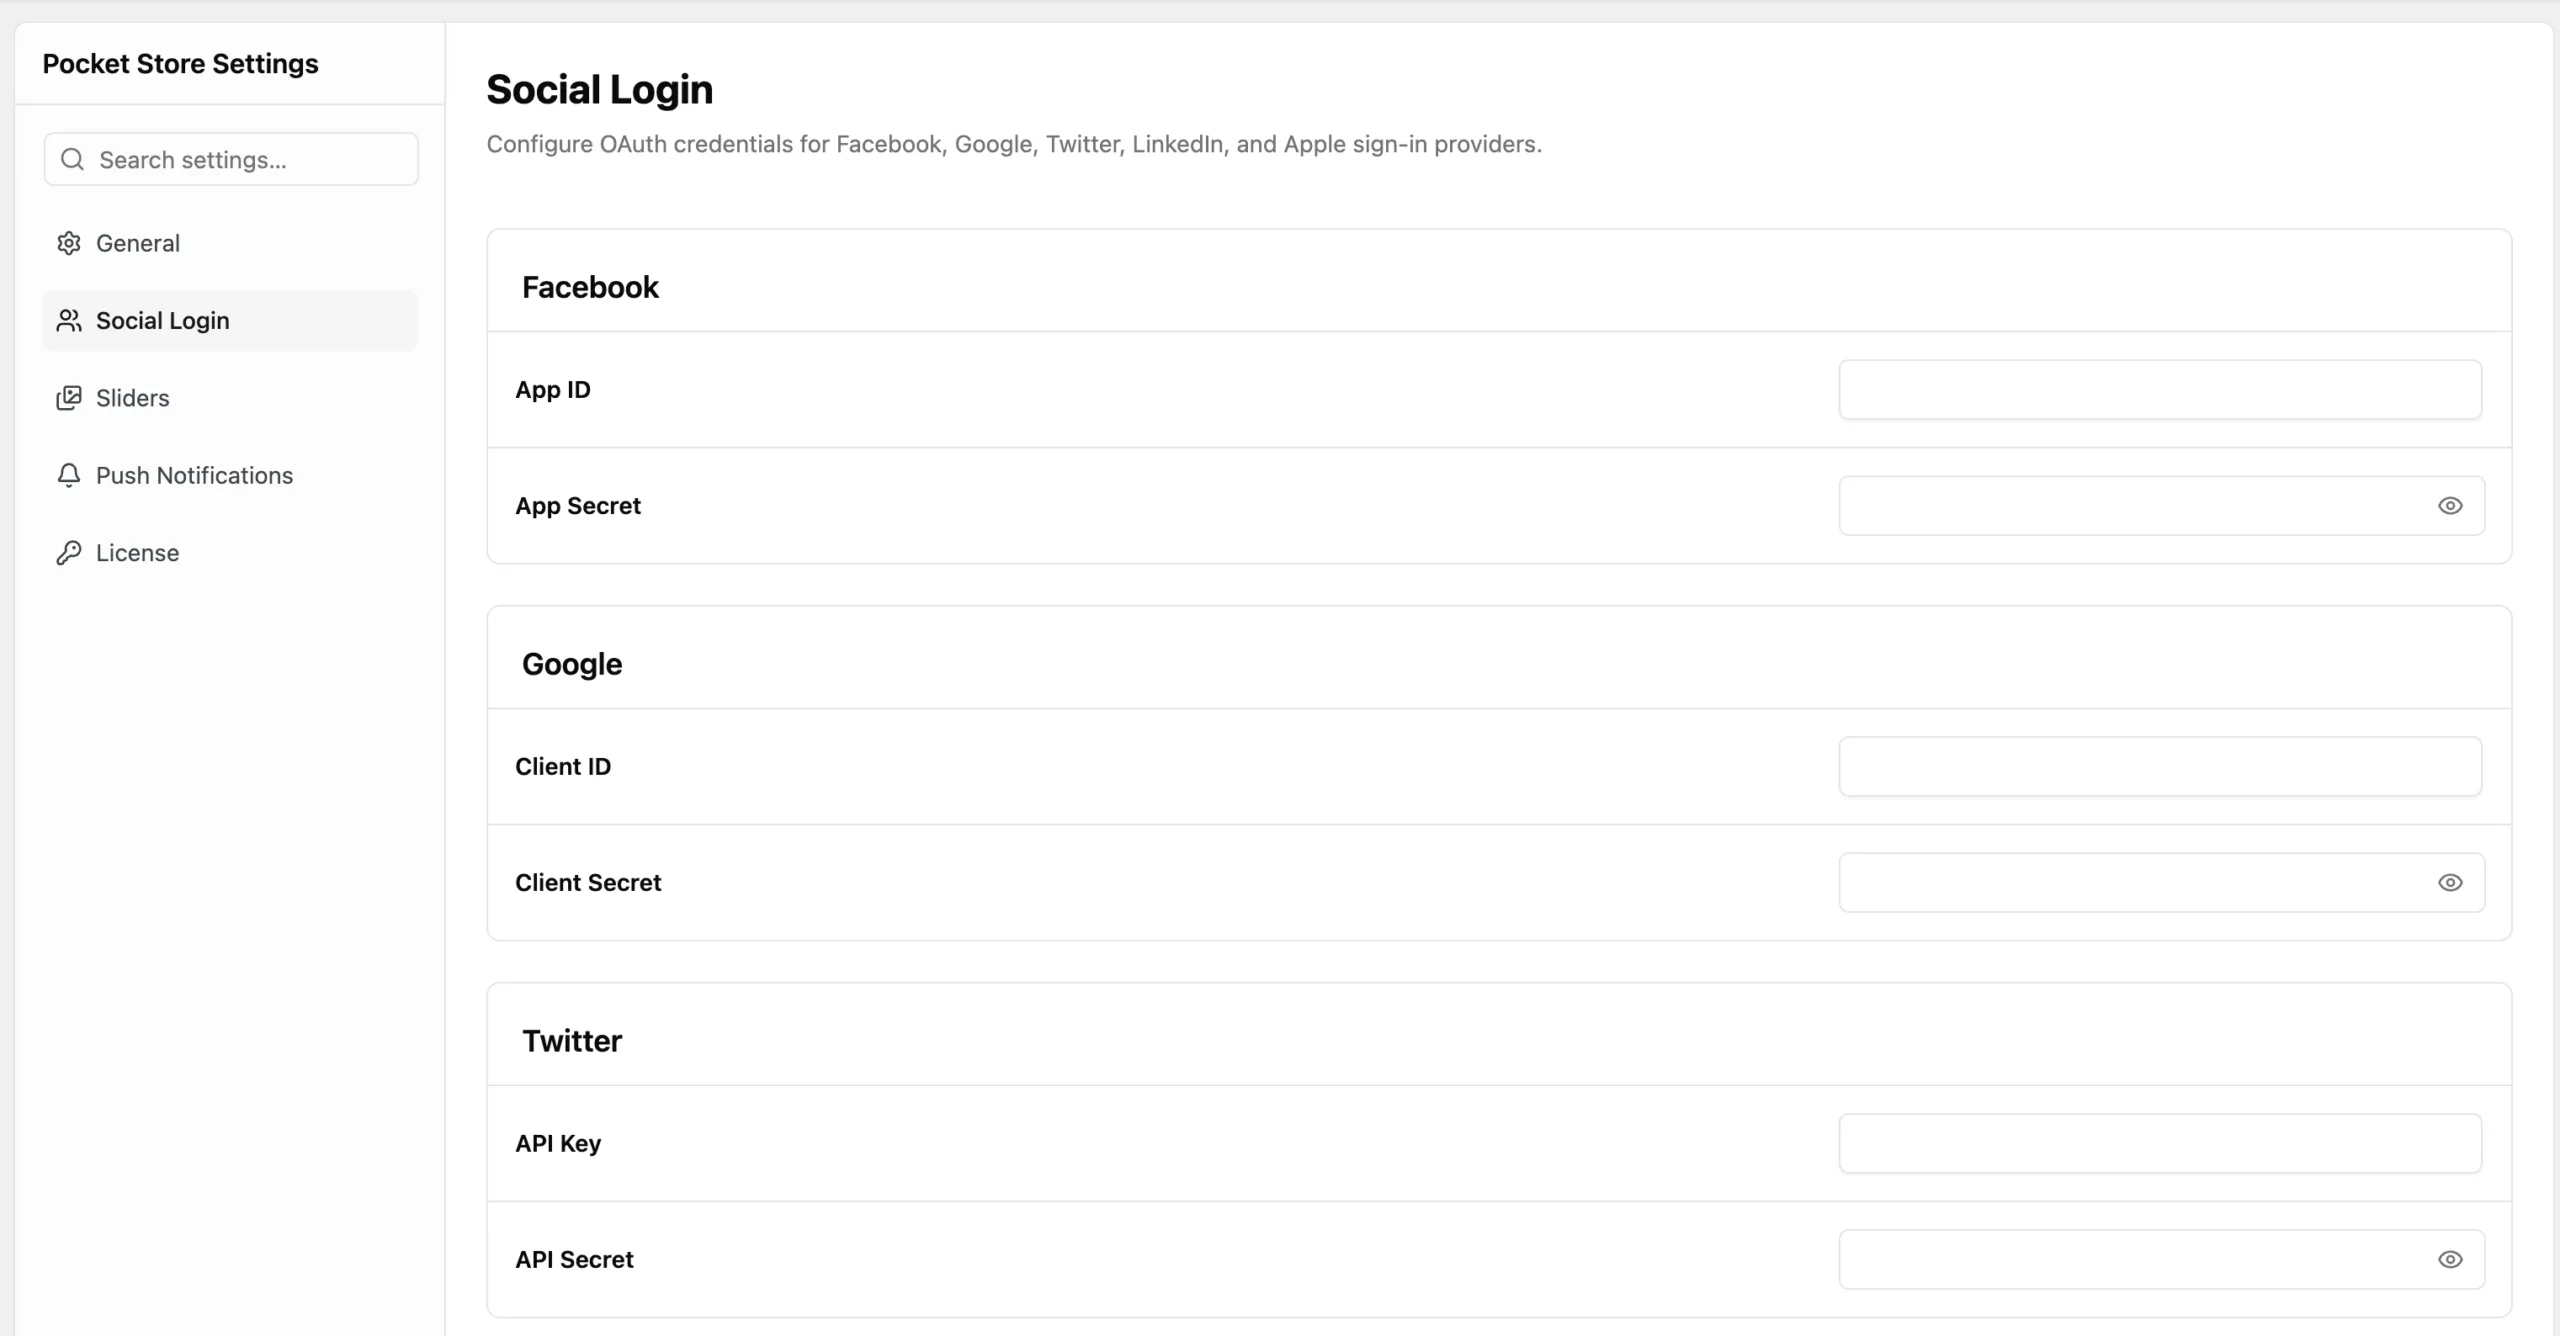
If you face too many obstacles to go through all the steps then you can directly reach out to us at support@storepulse.co. We will configure and manage everything for you to build the app via our PocketStore Care package and policy.
After You Submit
Section titled “After You Submit”Here is what happens after you hit Submit:
- The StorePulse team reviews your submission.
- If anything is missing, we will contact you by email.
- Once all inputs are confirmed, our team logs in to your WordPress site and installs AppBridge.
- Build and testing begin against your live store.
- Our team submits your apps to Apple App Store and Google Play.
- Apple and Google complete their review.
- You receive a go-live notification with your App Store and Play Store links.
What’s Next
Section titled “What’s Next”Before filling the form, read Prepare Your App Icon to make sure your files meet the specifications.
After you go live, see Managing Your App to update sliders, push messages, and colors.