

Configure Google Login
This page walks through collecting the OAuth credentials needed to enable Sign in with Google for your app. It explains how to create or configure the required Google project, set up the authentication settings, and obtain the login details your app will use to sign users in securely.
Complete the steps in order. You can skip this guide if you do not plan to offer Google login.
How to Set up Google Login
Section titled “How to Set up Google Login”Google Login lets shoppers sign in with their Google account.
What You Will Need
Section titled “What You Will Need”A Google account with which you will be managing the login configurations,
Step 1: Creating Your Project
Section titled “Step 1: Creating Your Project”Go to console.cloud.google.com and sign in with the Google account associated with your business.
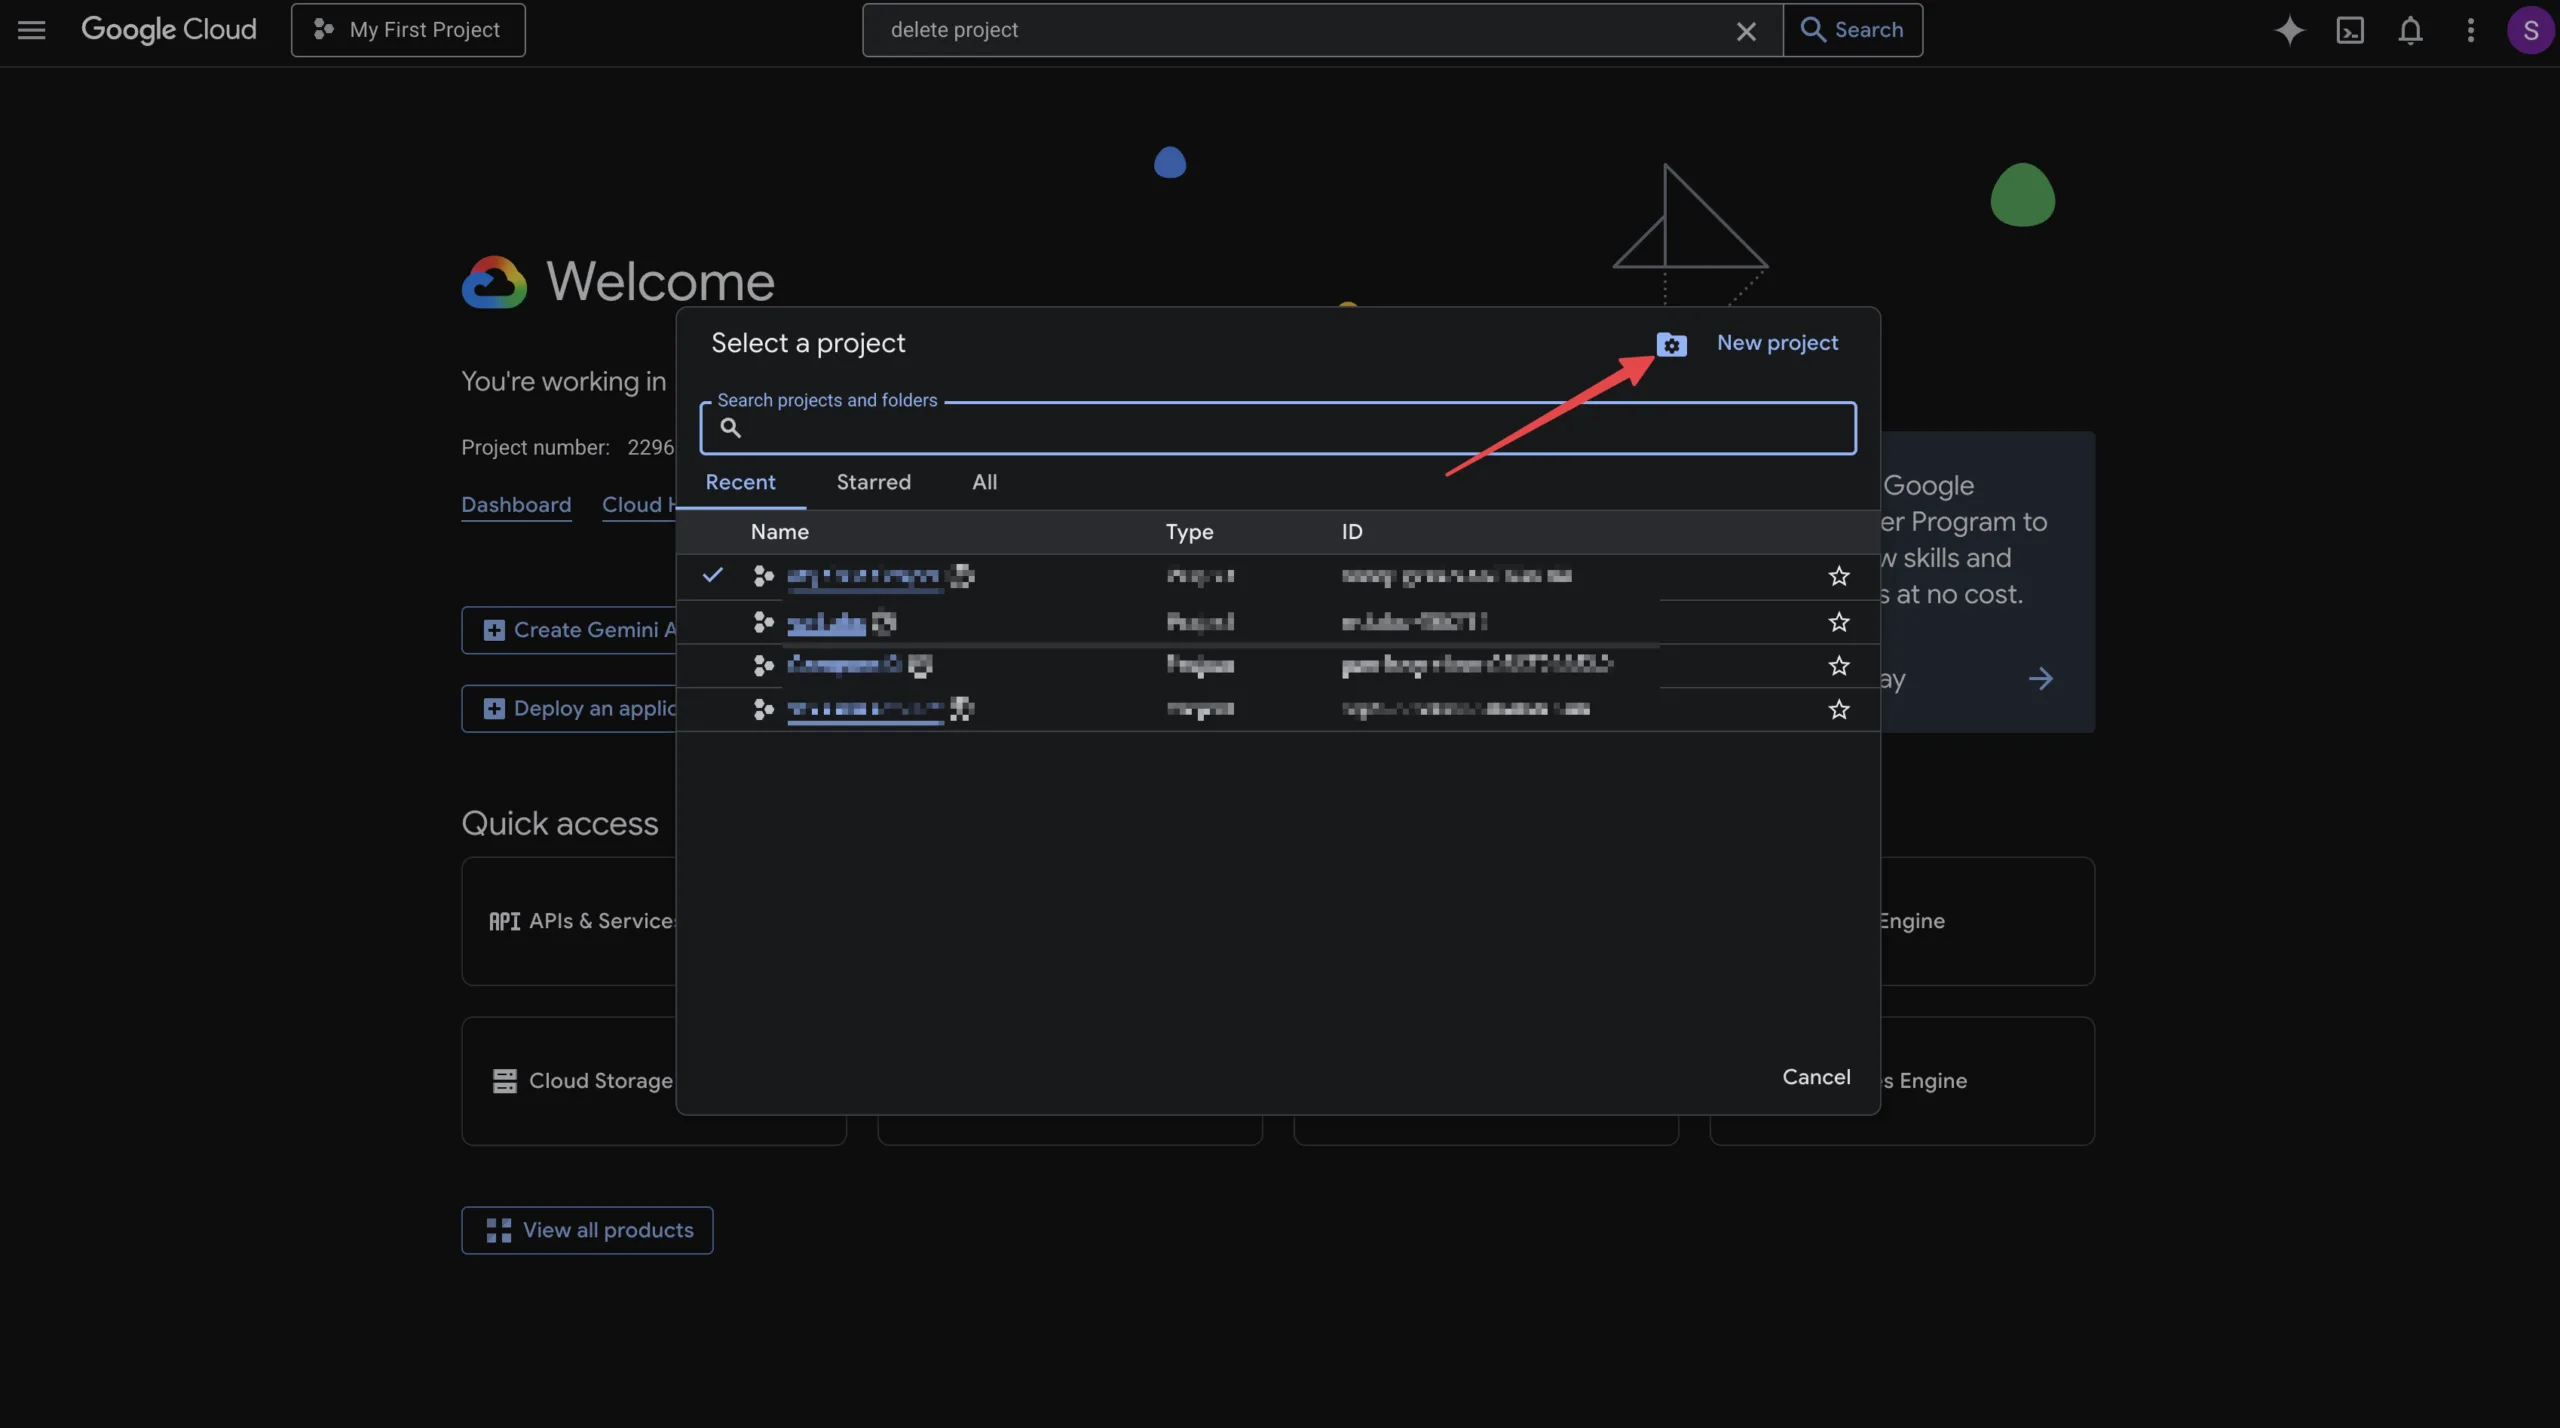
Click the project dropdown at the top of the page, then click New Project.
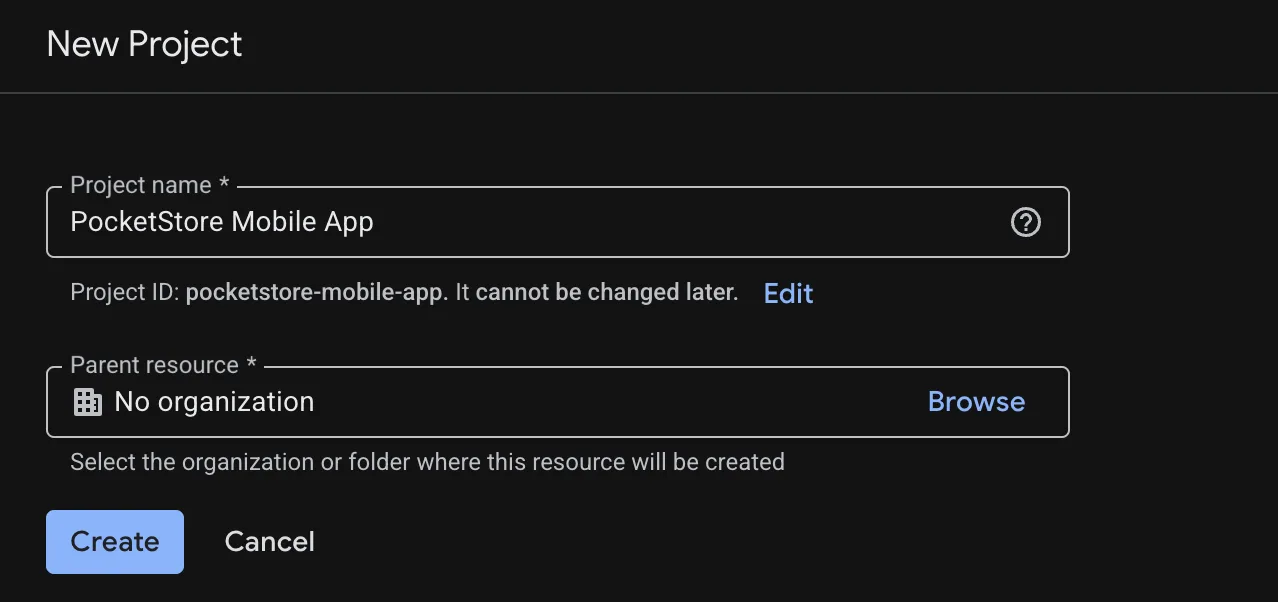
Enter a project name (for example: “YourStore Mobile App”) and click Create.
Step 2: Configuring OAuth Consent Screen
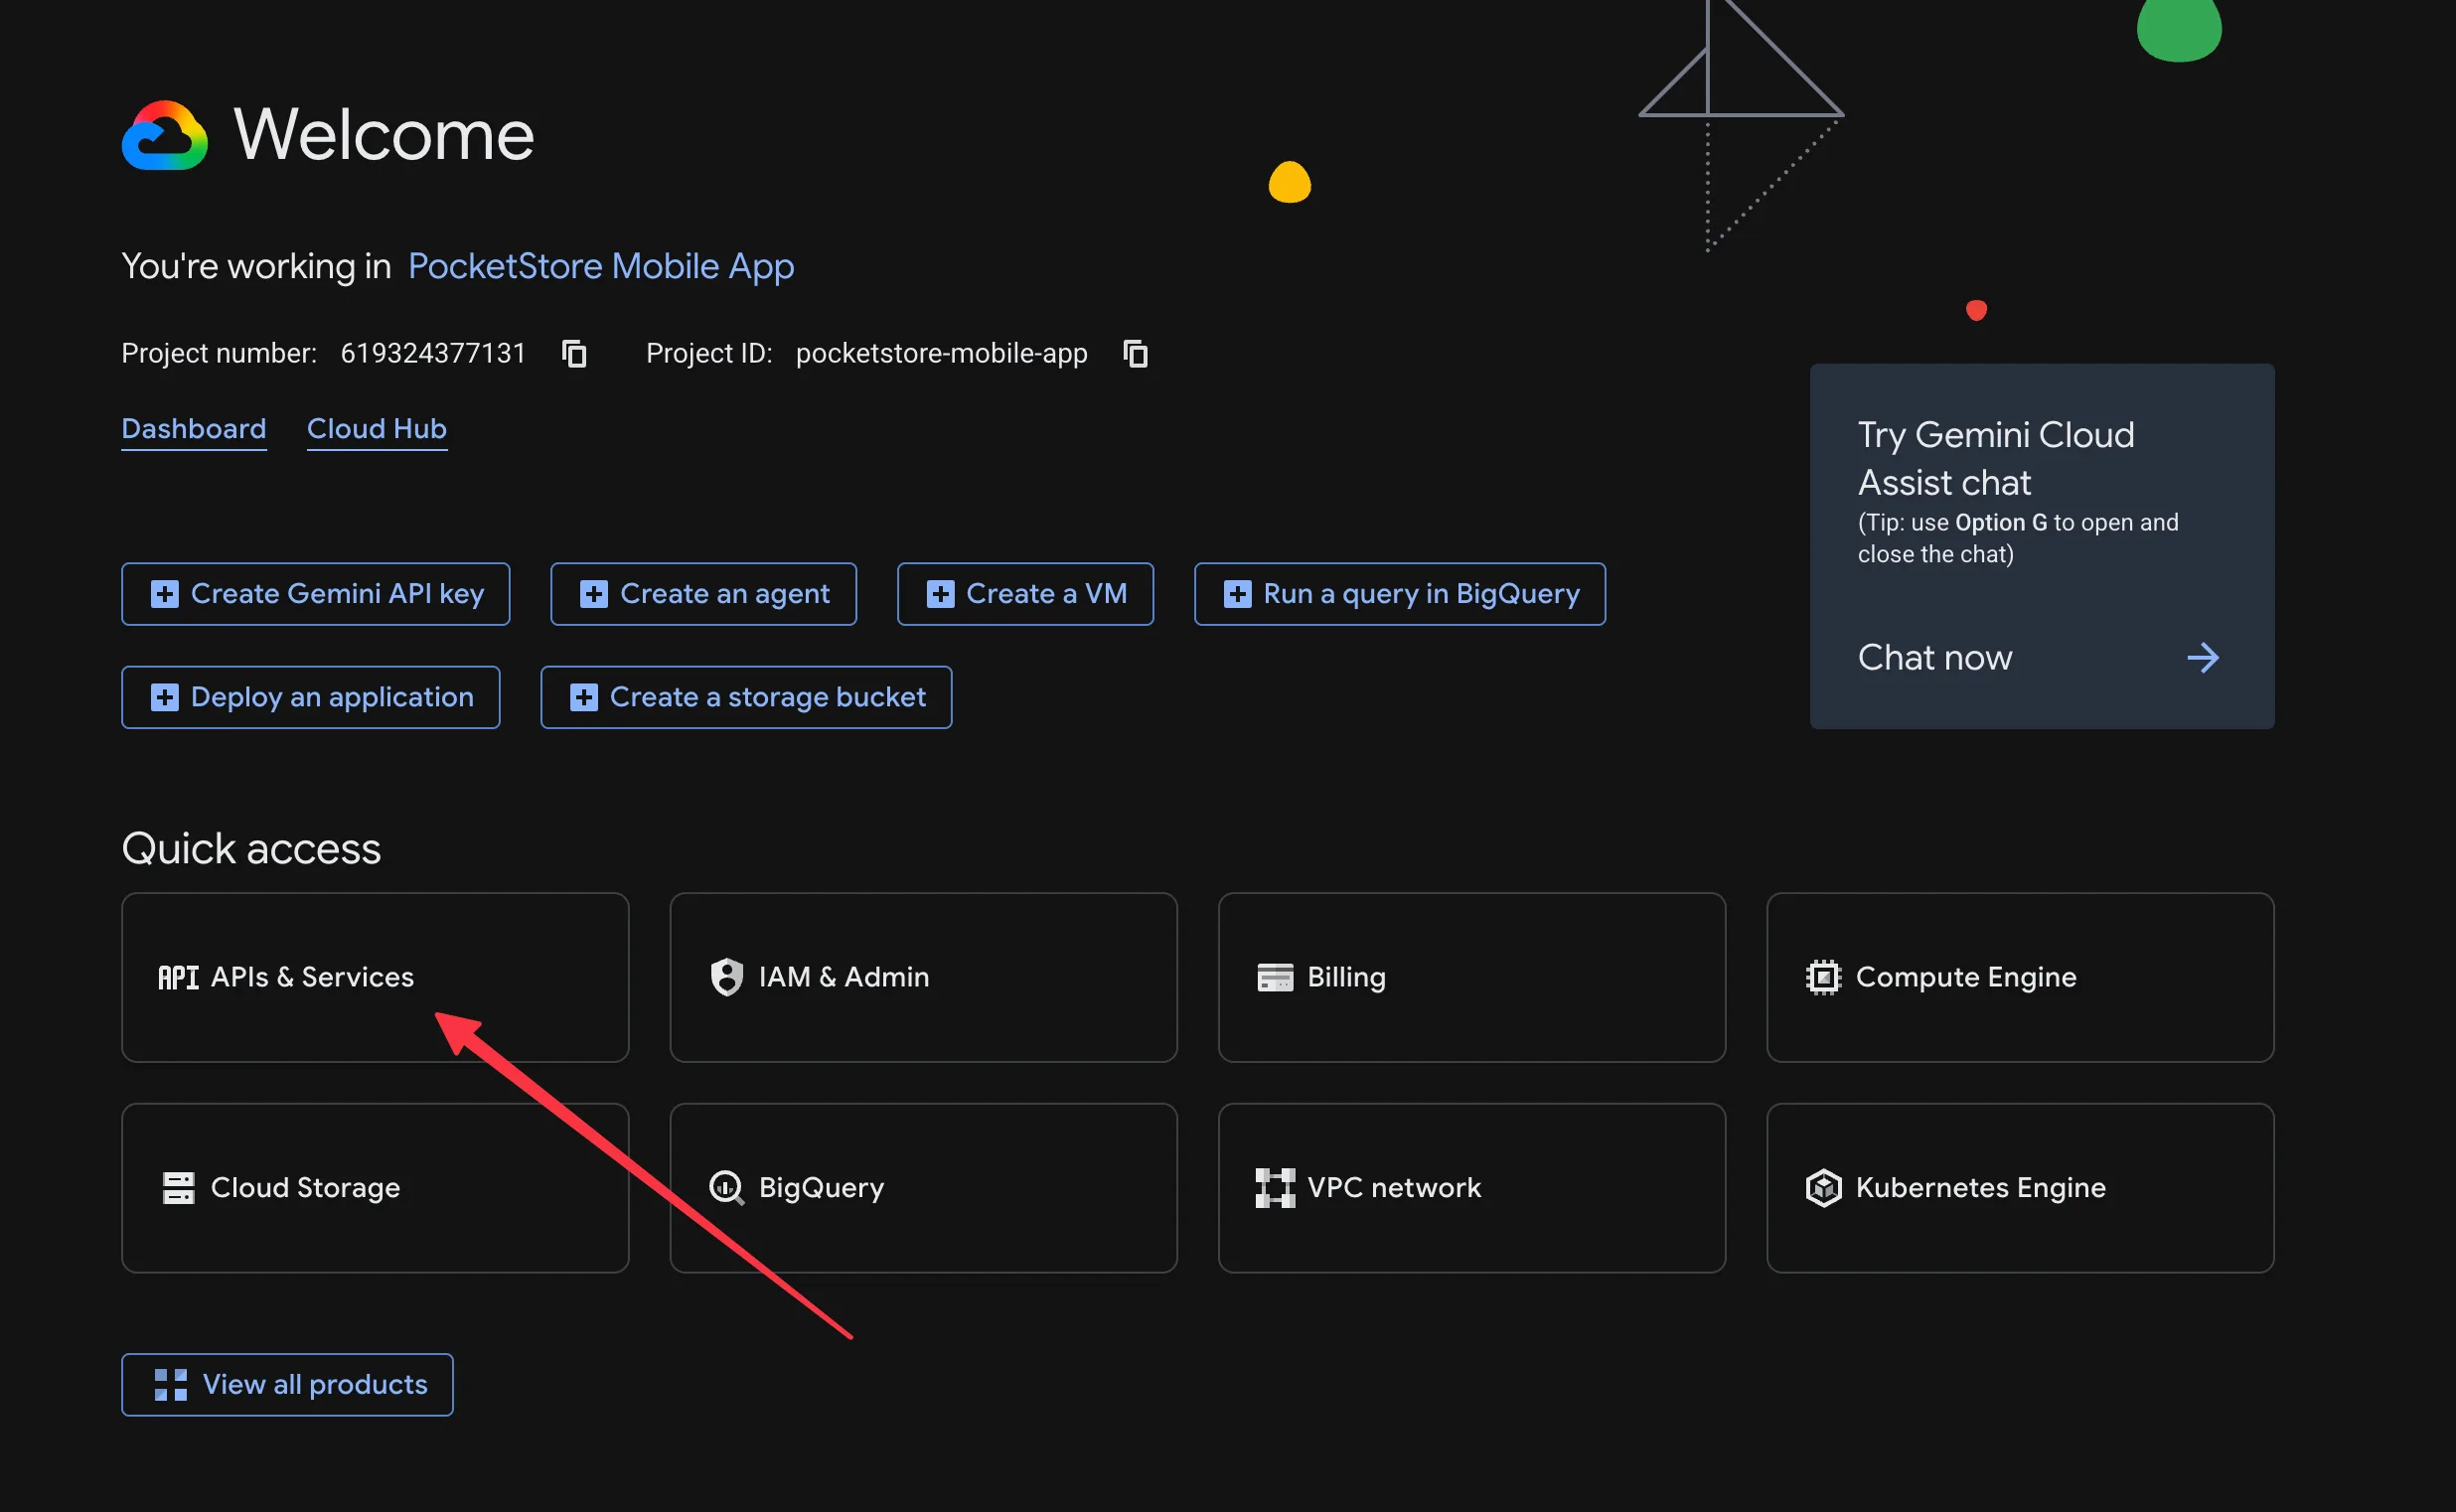
Section titled “Step 2: Configuring OAuth Consent Screen”Now go to APIs & Services > Library.
Find the OAuth consent screen from the sidebar and click on Get Started.
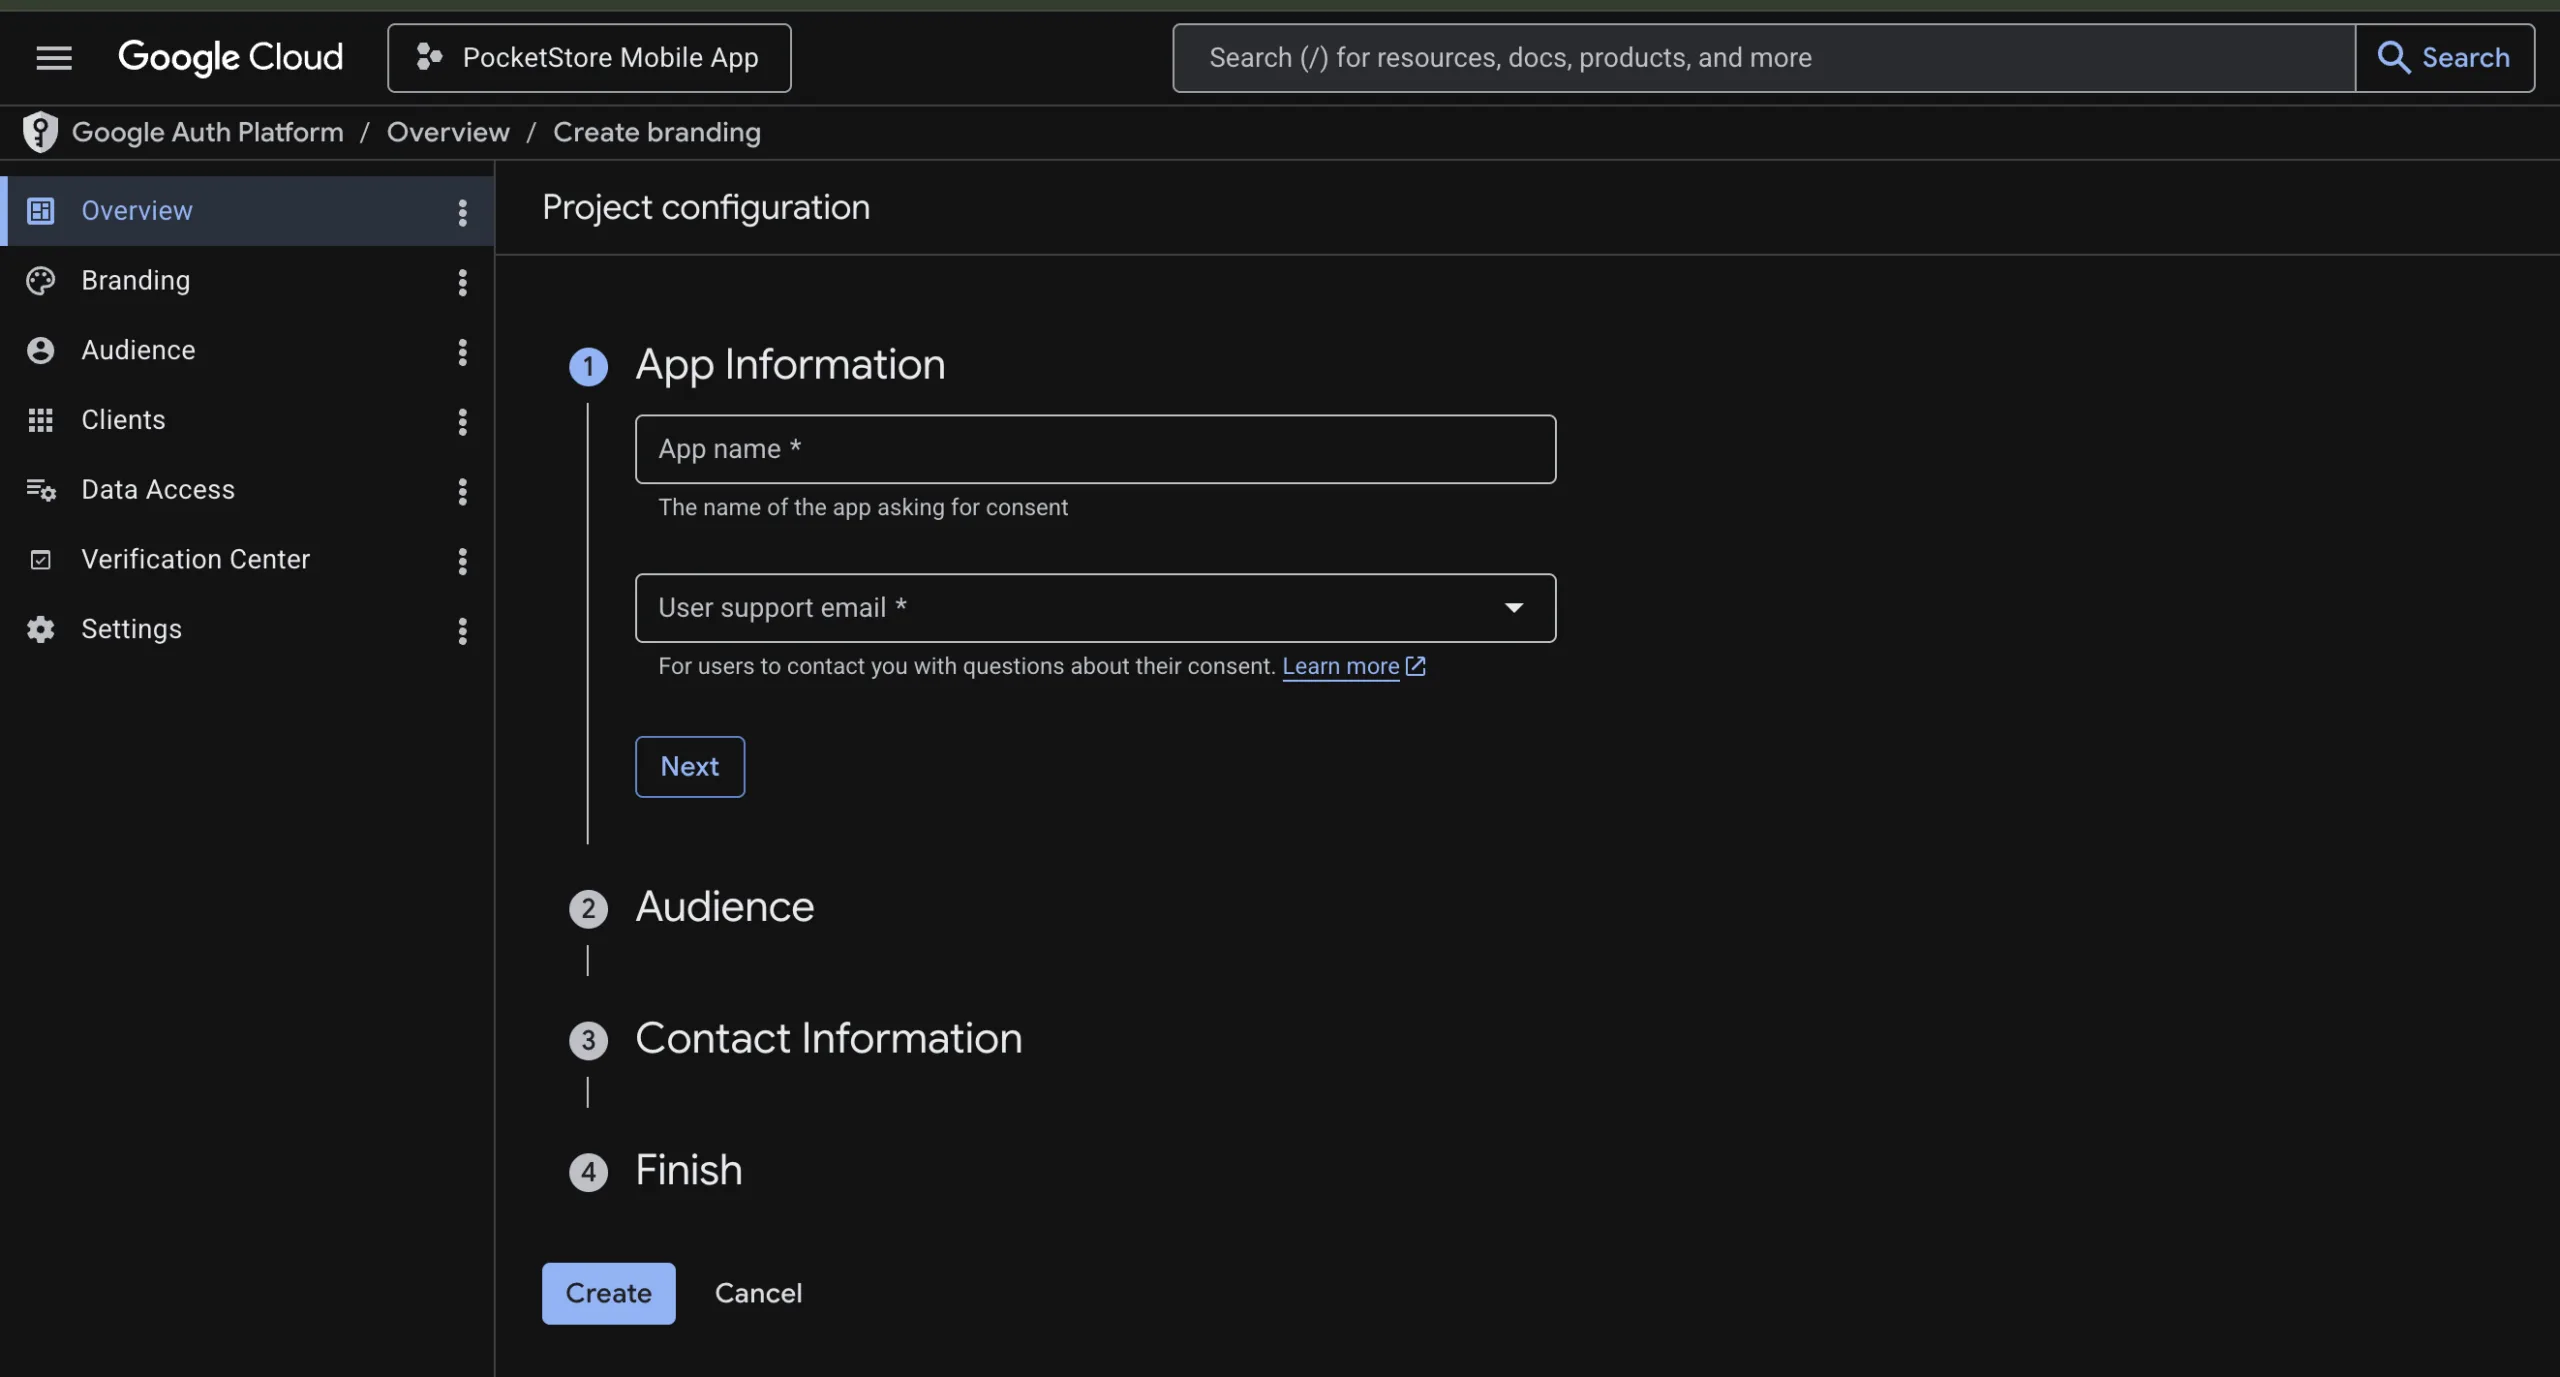
Now, please give the name of your app and the user support email. Click on next.
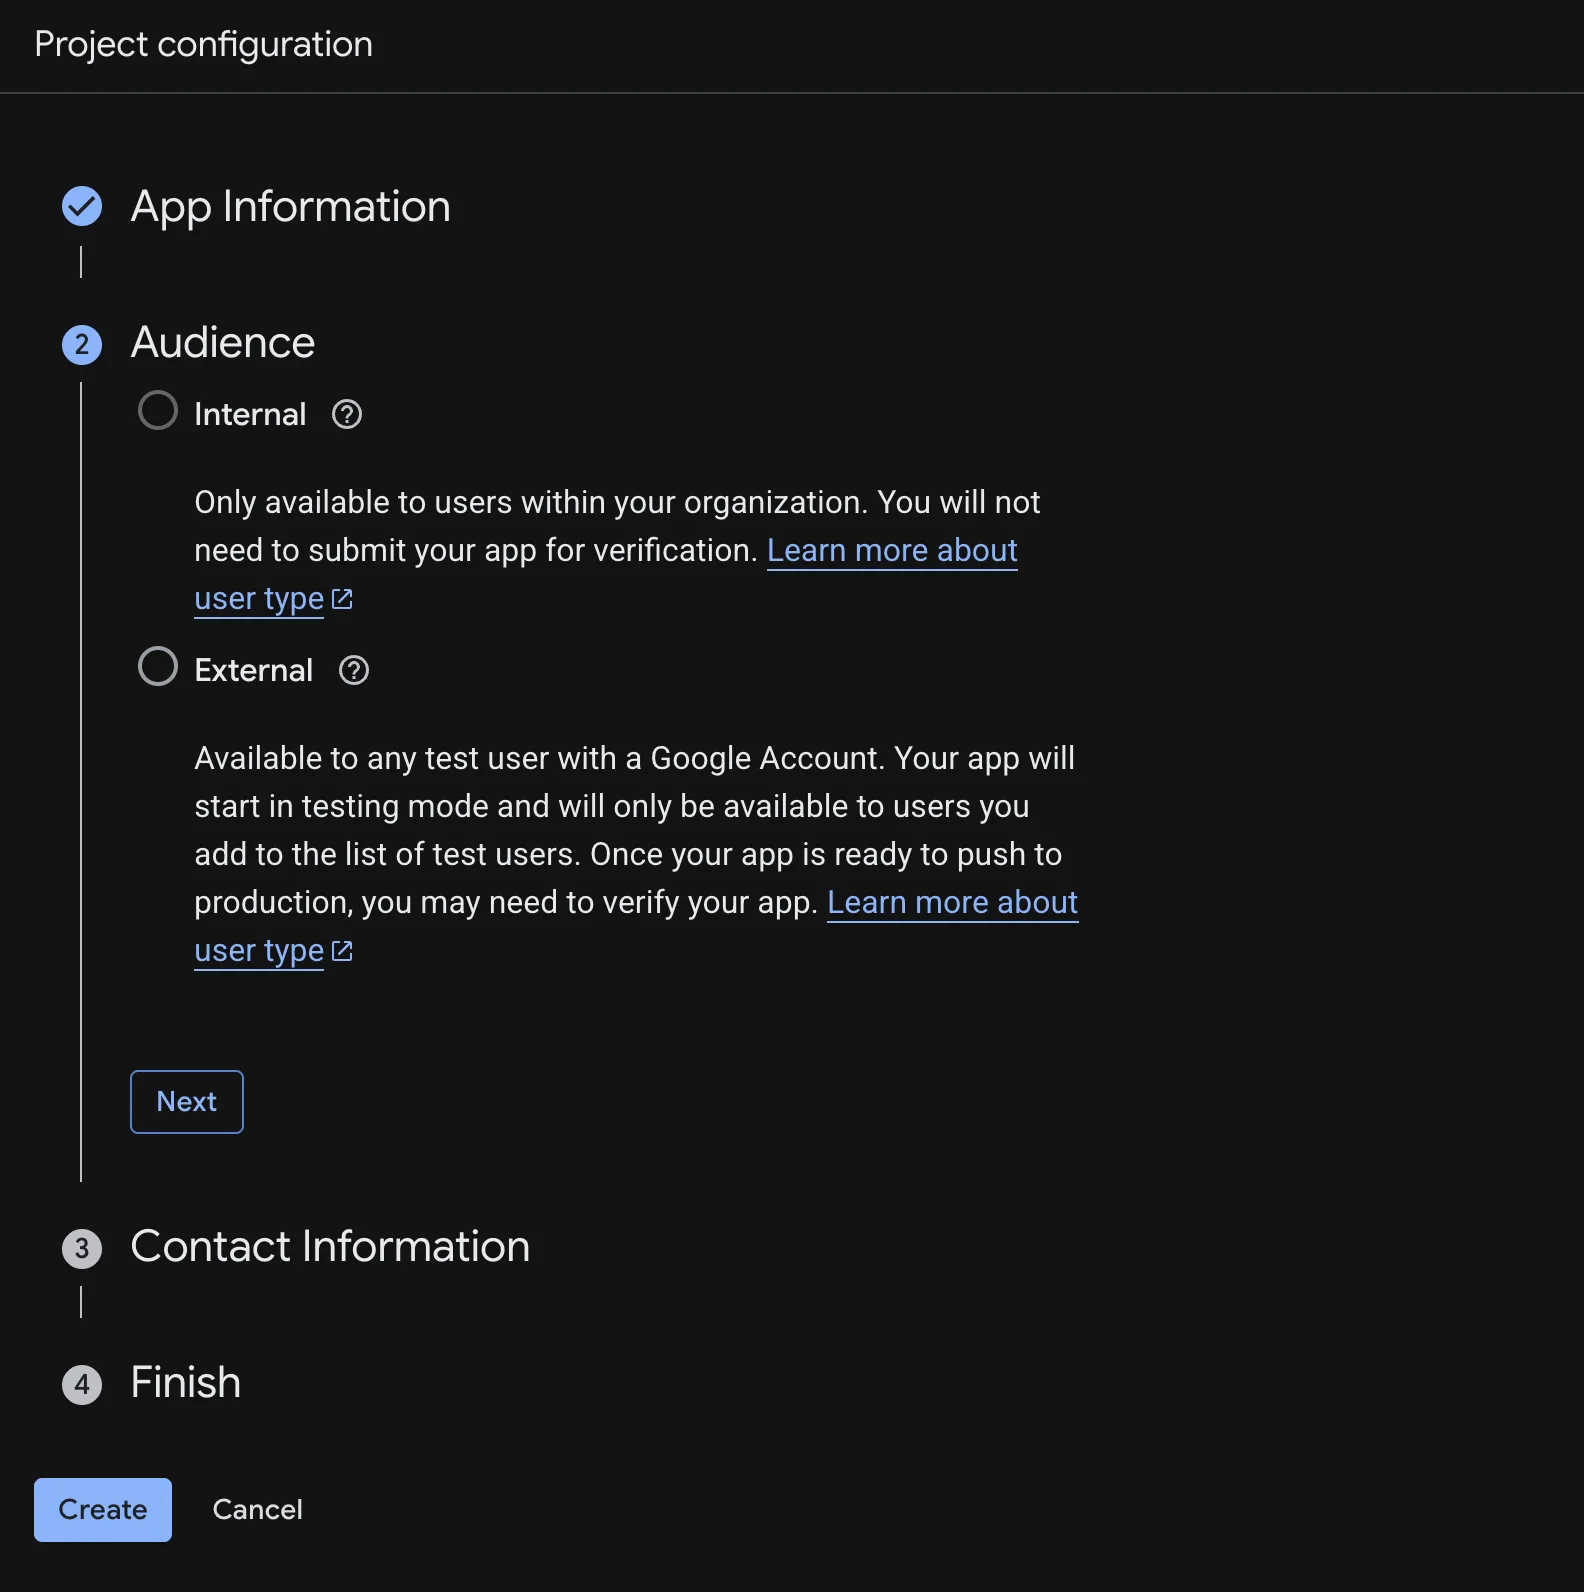
In the next screen, please select your audience as external.
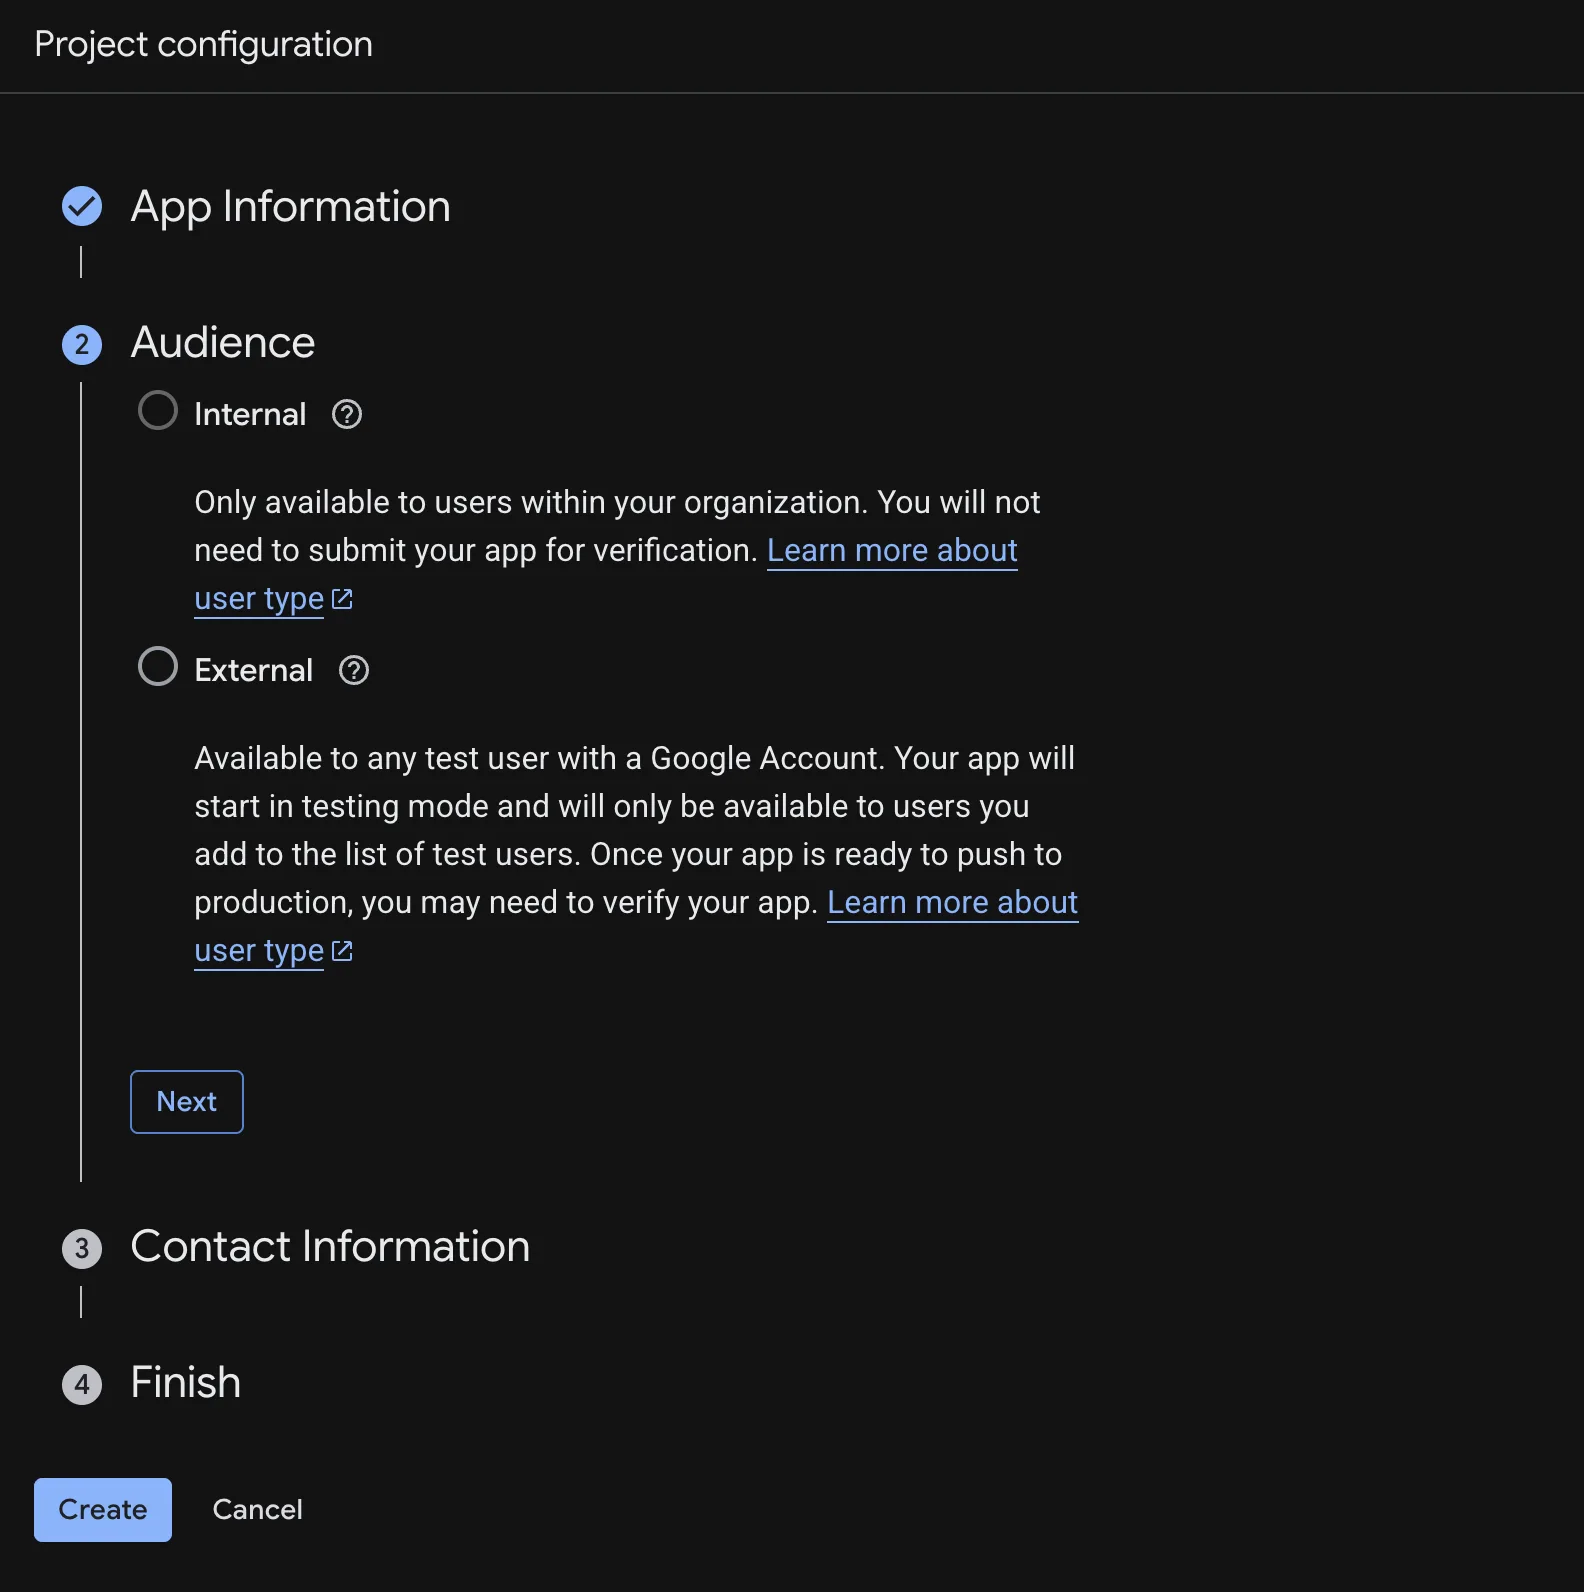
In the next step, just select your email as the contact information and click on the checkbox stating that you agree to the Google API Services: User Data Policy.
Step 3: Creating OAuth Client ID
Section titled “Step 3: Creating OAuth Client ID”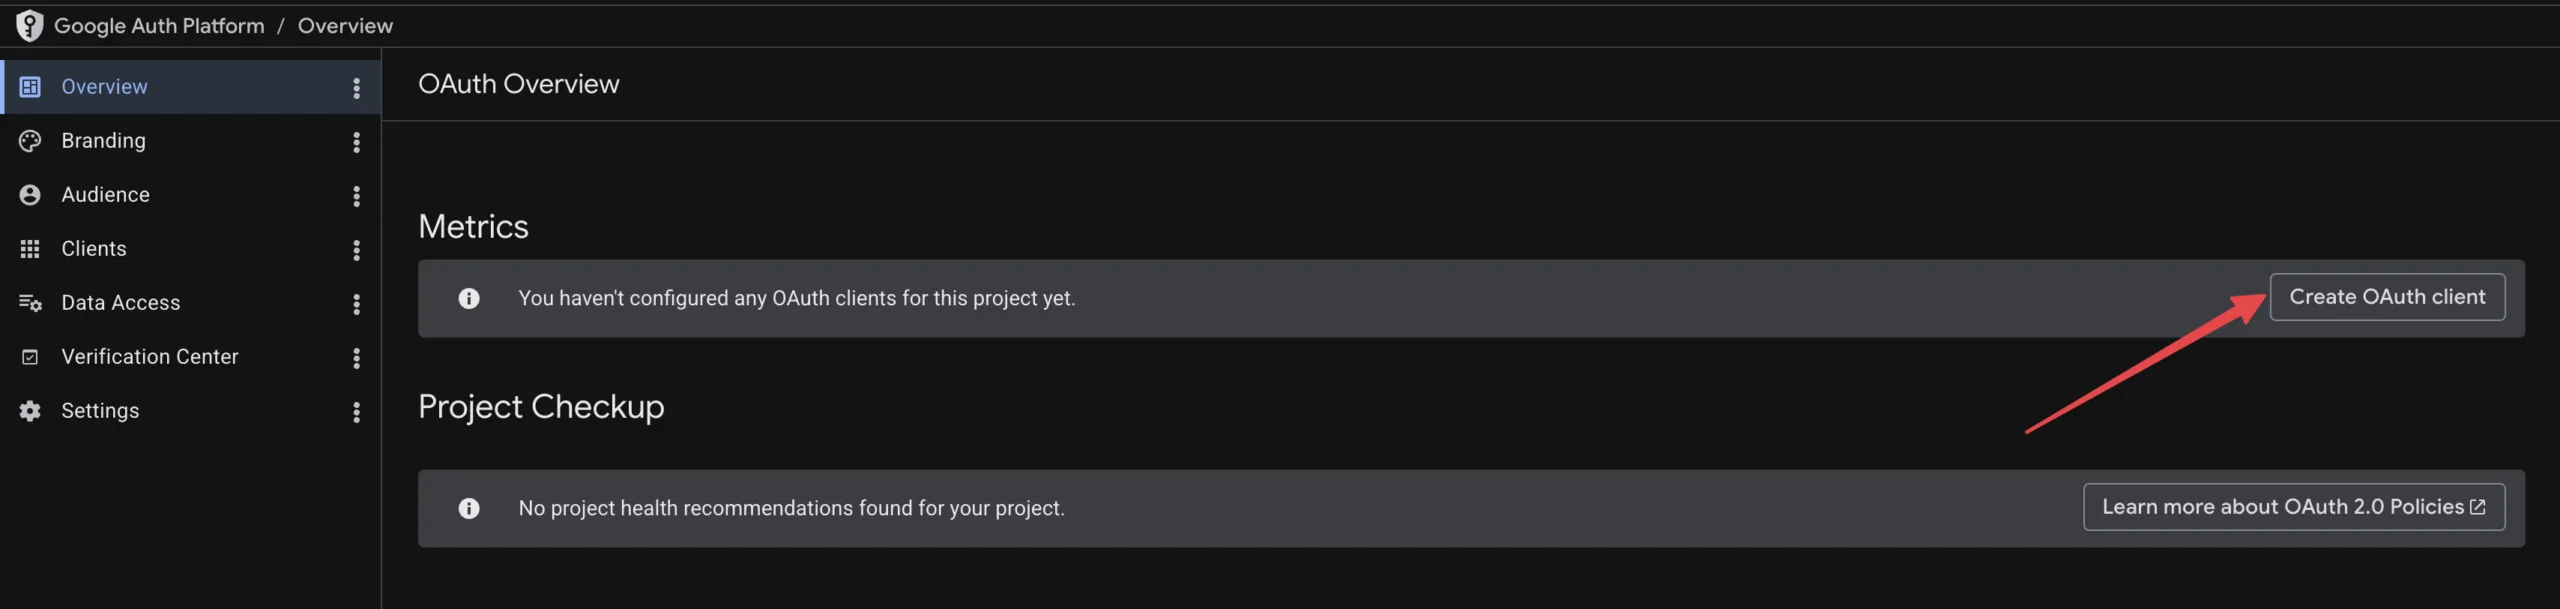
Once you have configured the OAuth consent screen, this screen will appear. You need to click on create OAuth client. Follow the following steps for configuring your Android & iOS app.
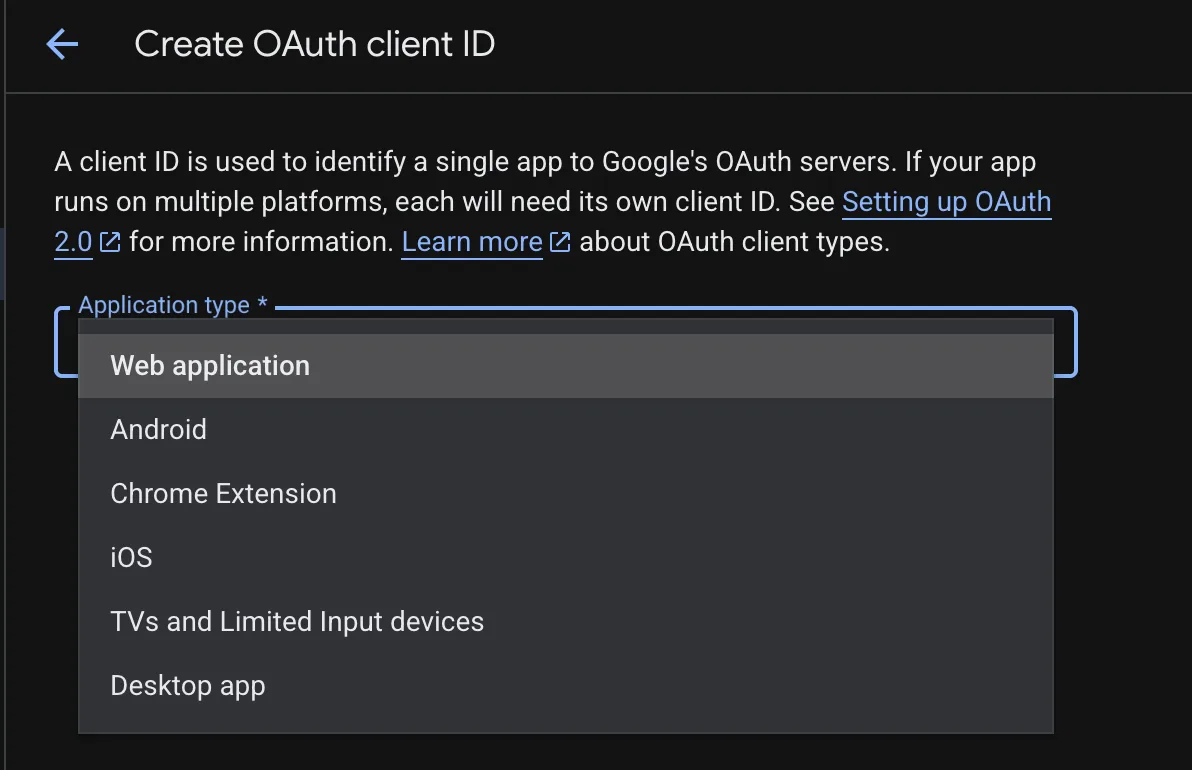
For Android
Section titled “For Android”- Navigate to Google Cloud Console → Google Auth Platform → Clients.
- Click Create Client.
- Select Android as the application type.
- Enter:
- Name: A descriptive name for the client (e.g. MyApp Android)
- Package Name: Your Android application’s package name
- SHA-1 Certificate Fingerprint: Your app’s SHA-1 signing certificate fingerprint
- Click Create.
Note: If you need help finding your package name or SHA-1 fingerprint, refer to Google’s official documentation.
For iOS
Section titled “For iOS”- Navigate to Google Cloud Console → Google Auth Platform → Clients.
- Click Create Client.
- Select iOS as the application type.
- Enter:
- Name: A descriptive name for the client (e.g. MyApp iOS)
- Bundle ID: Your iOS application’s bundle identifier
- Click Create.
Optional: Create a Web Client ID
Section titled “Optional: Create a Web Client ID”If your app authenticates users through a backend server, you should also create a Web Application OAuth Client ID.
- Click Create Client.
- Select Web Application.
- Enter a descriptive name.
- Click Create.
The generated Web Client ID may be required for server-side authentication and token verification.
Save Your Client IDs
Section titled “Save Your Client IDs”Once created, Google will generate one or more OAuth Client IDs. Save these values, as they will be required when configuring Google Sign-In within your mobile application.
In the next step, you’ll use these Client IDs to configure Google Sign-In inside your mobile app.
Step 4: Integrate Google Sign-In in Your App
Section titled “Step 4: Integrate Google Sign-In in Your App”After creating your OAuth Client, you’ll need to copy the credentials required to configure Google Sign-In in your application.
Locate Your Credentials
Section titled “Locate Your Credentials”- Navigate to Google Cloud Console → Google Auth Platform → Clients.
- Select the OAuth Client you created in the previous step.
- Copy the following values:
| Field | Description |
|---|---|
| Client ID | Unique identifier used to connect your app with Google’s authentication service. |
| Client Secret | Secret key used to securely authenticate requests between your application and Google. |
Add the Credentials to Your App
Section titled “Add the Credentials to Your App”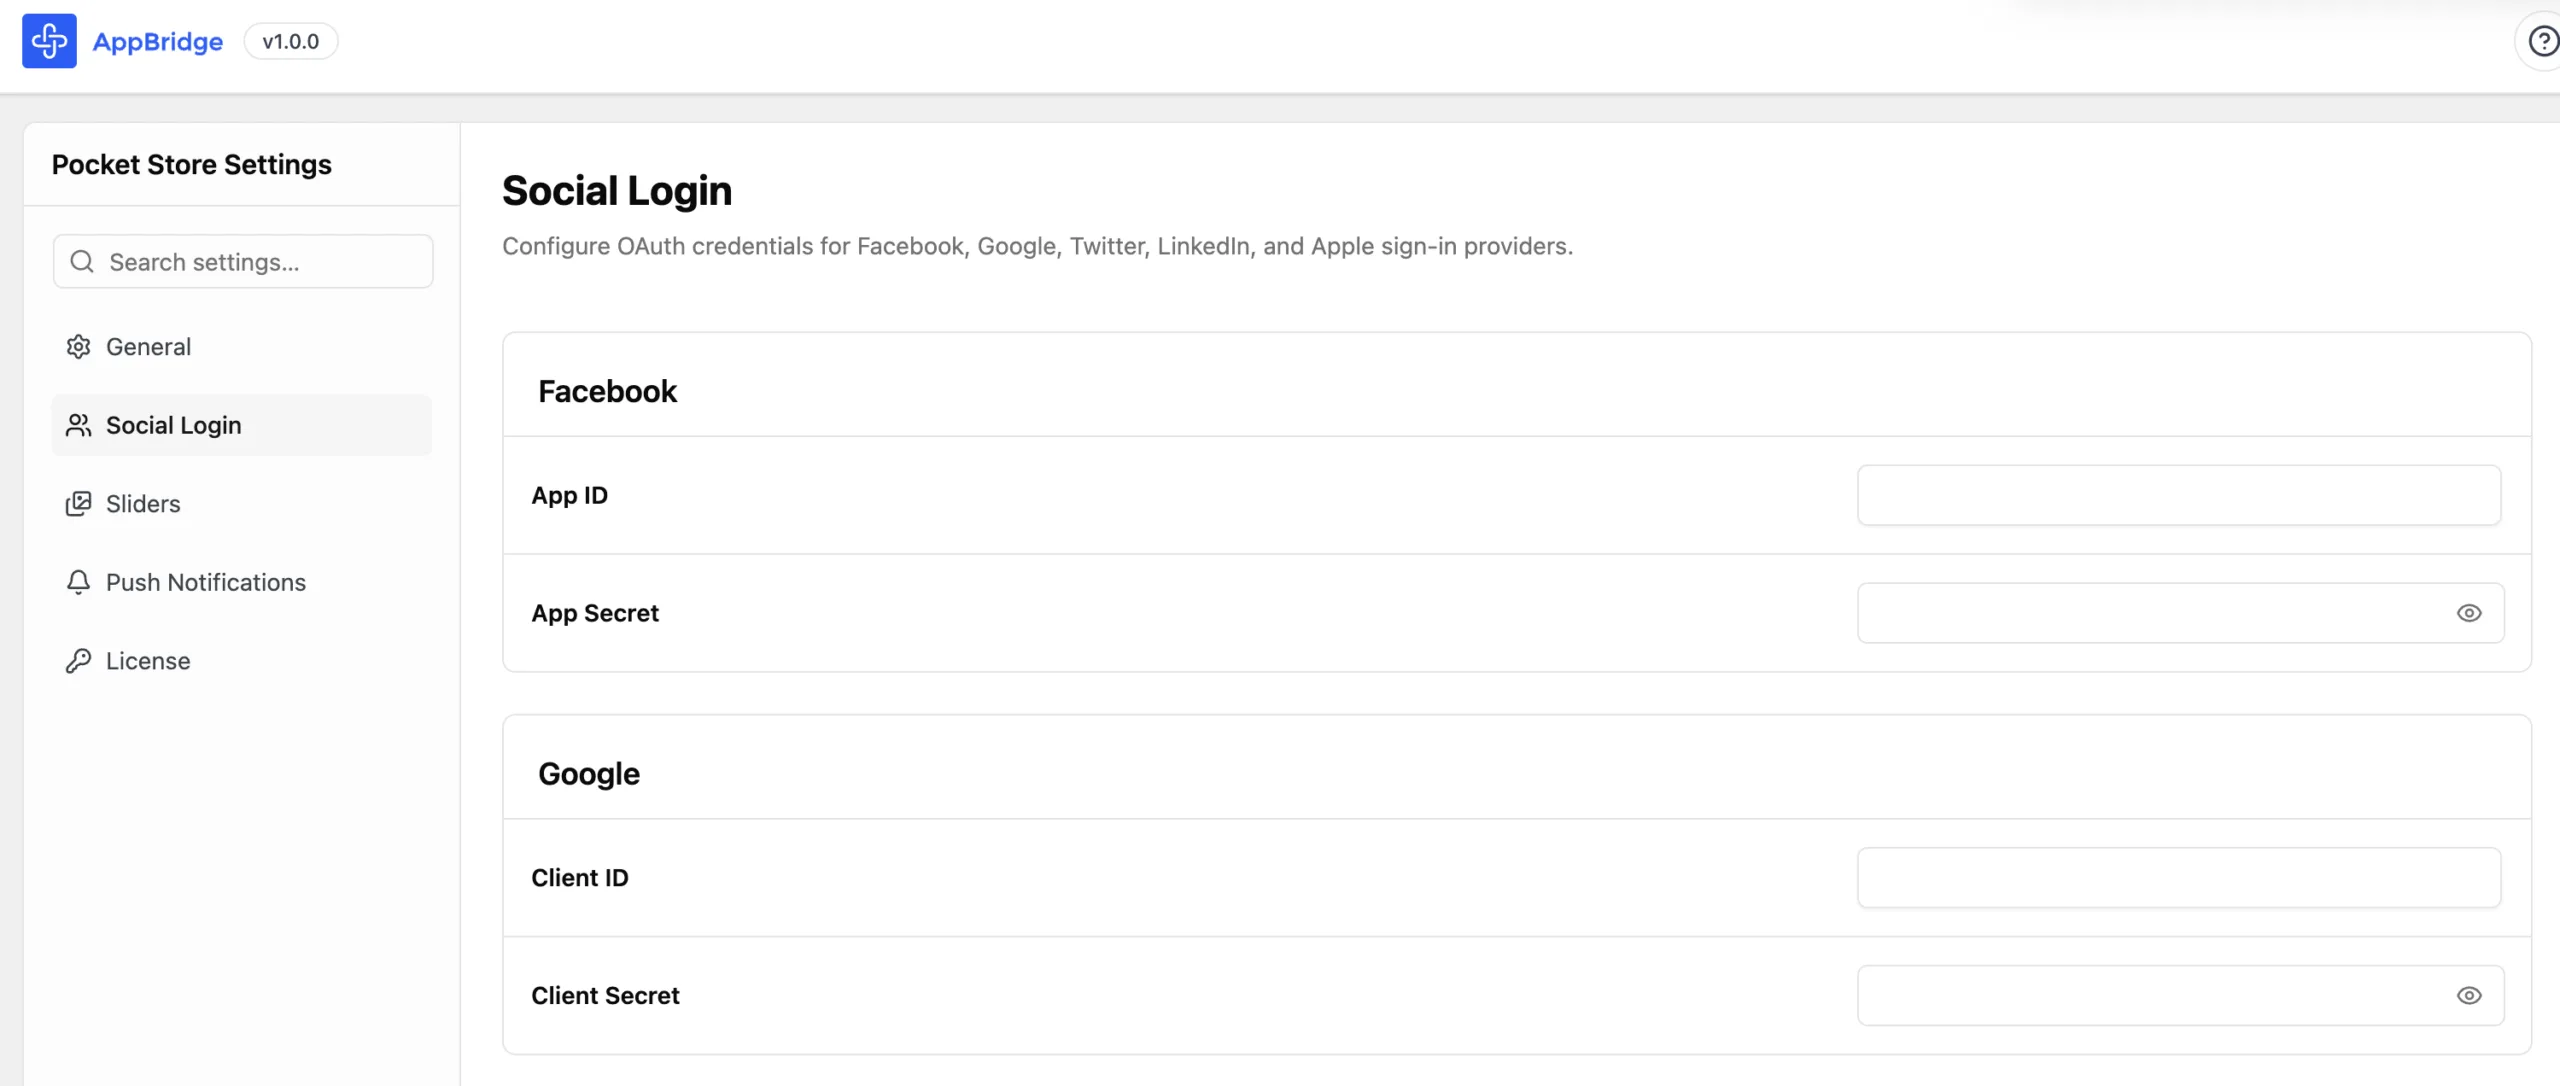
Enter the following values in your PocketStore > Social Login > Google Sign-In settings:
- Google Client ID
- Google Client Secret
Things To Remember
Section titled “Things To Remember”1
Keep your Client Secret private and never expose it in publicly accessible code repositories or client-side applications.
2
If your app supports multiple platforms (Android, iOS, Web), ensure you use the credentials associated with the correct OAuth Client.
3
If your Client Secret is compromised, you can generate a new one from the Google Cloud Console.
Once these credentials have been added to your application, Google Sign-In is ready to be enabled.