

Configuring OneSignal Account
In this guide, we will show you how to create a OneSignal account, collect your App ID and REST API Key, and connect them to your app so it can send push notifications.
OneSignal is the push notification service that delivers every message your app sends, both automatic and manual.
Setting it up is a one-time task, and both kinds of push depend on it, so do this first.
Get your OneSignal App ID and REST API Key
Section titled “Get your OneSignal App ID and REST API Key”OneSignal gives you two values that connect your app to its push service: an App ID (the identifier for your OneSignal project) and a REST API Key (a private key that lets your store send push messages).
You can collect both from your OneSignal account.
Go to onesignal.com and create a free account, or log in if you already have one.
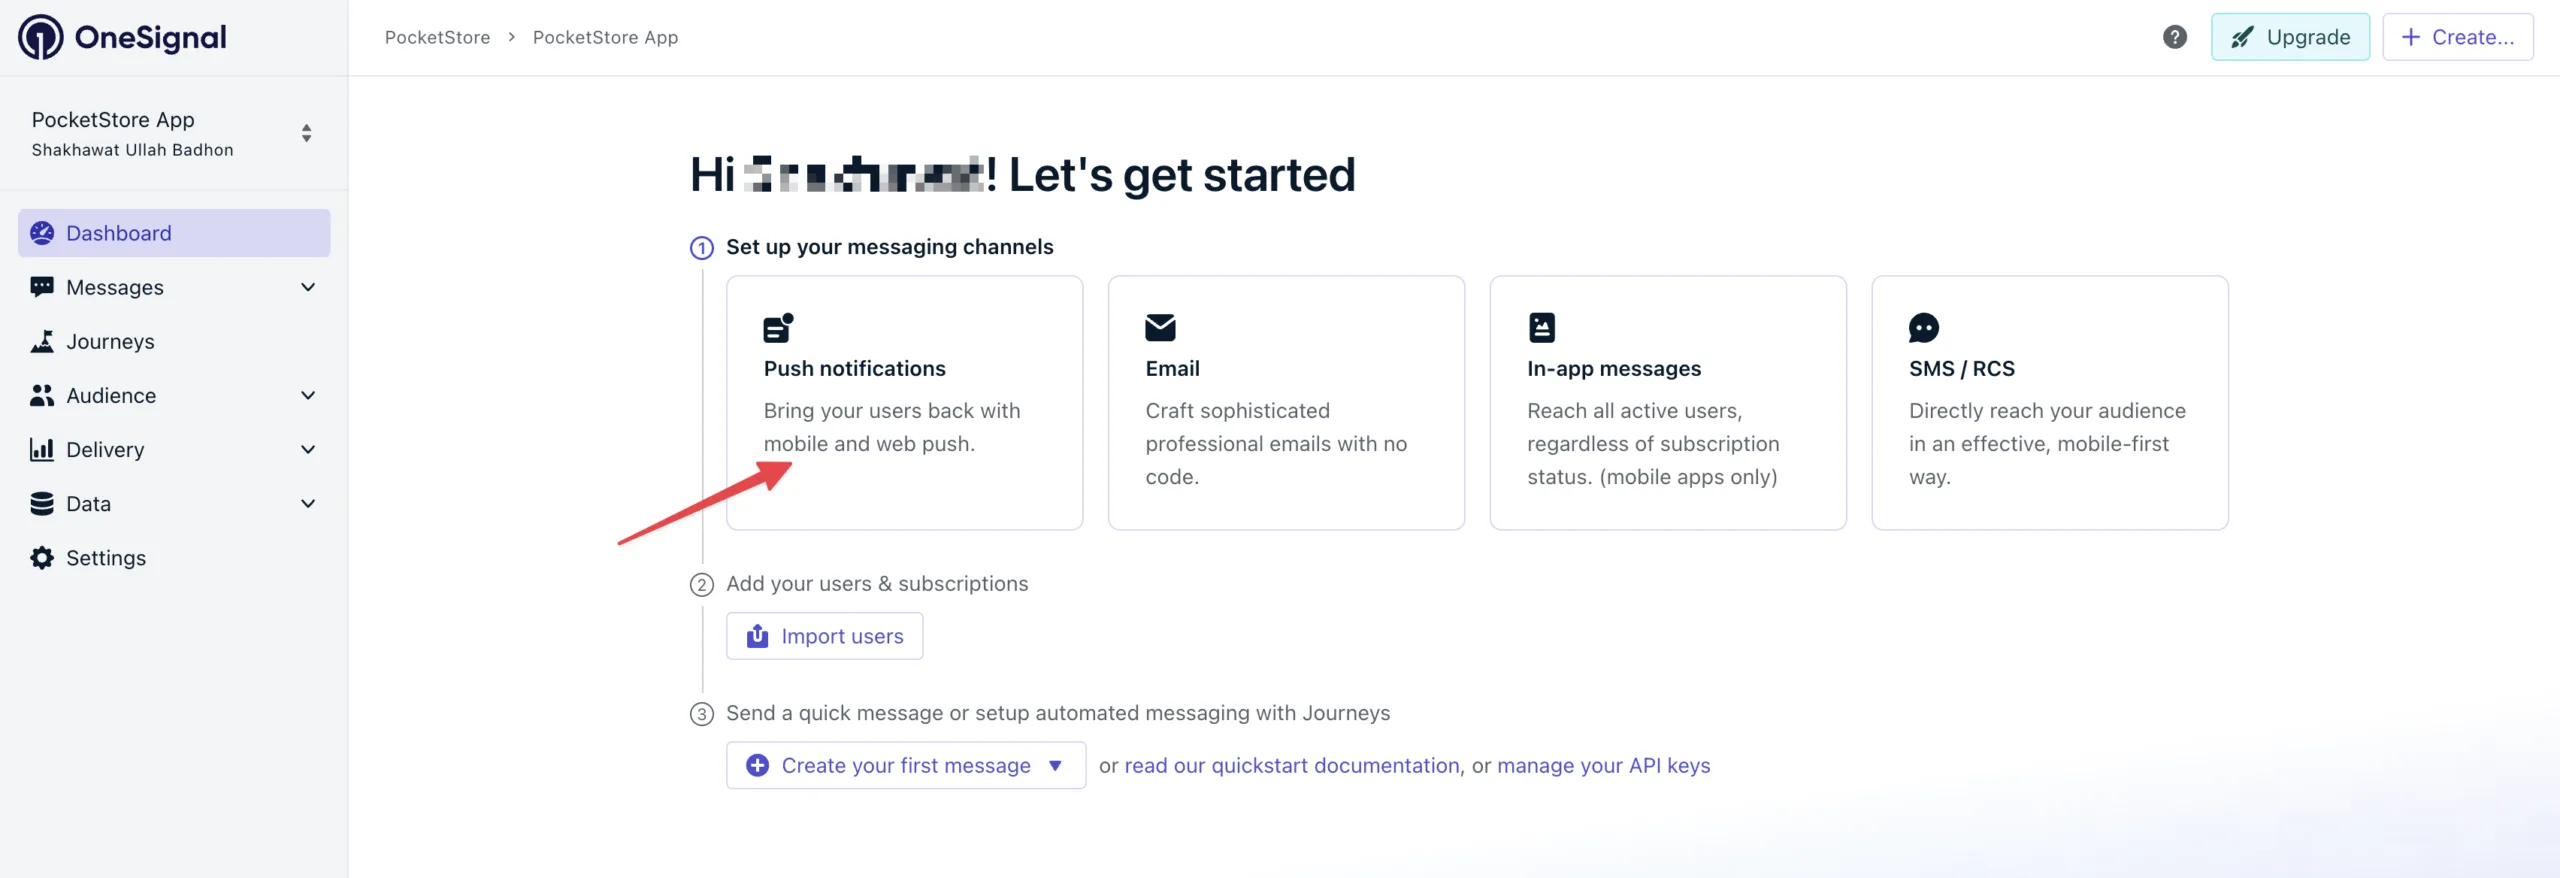
Create a new app or project in OneSignal, then click on Push Notifications.
Now select the platforms your app runs on (Android & iOS).
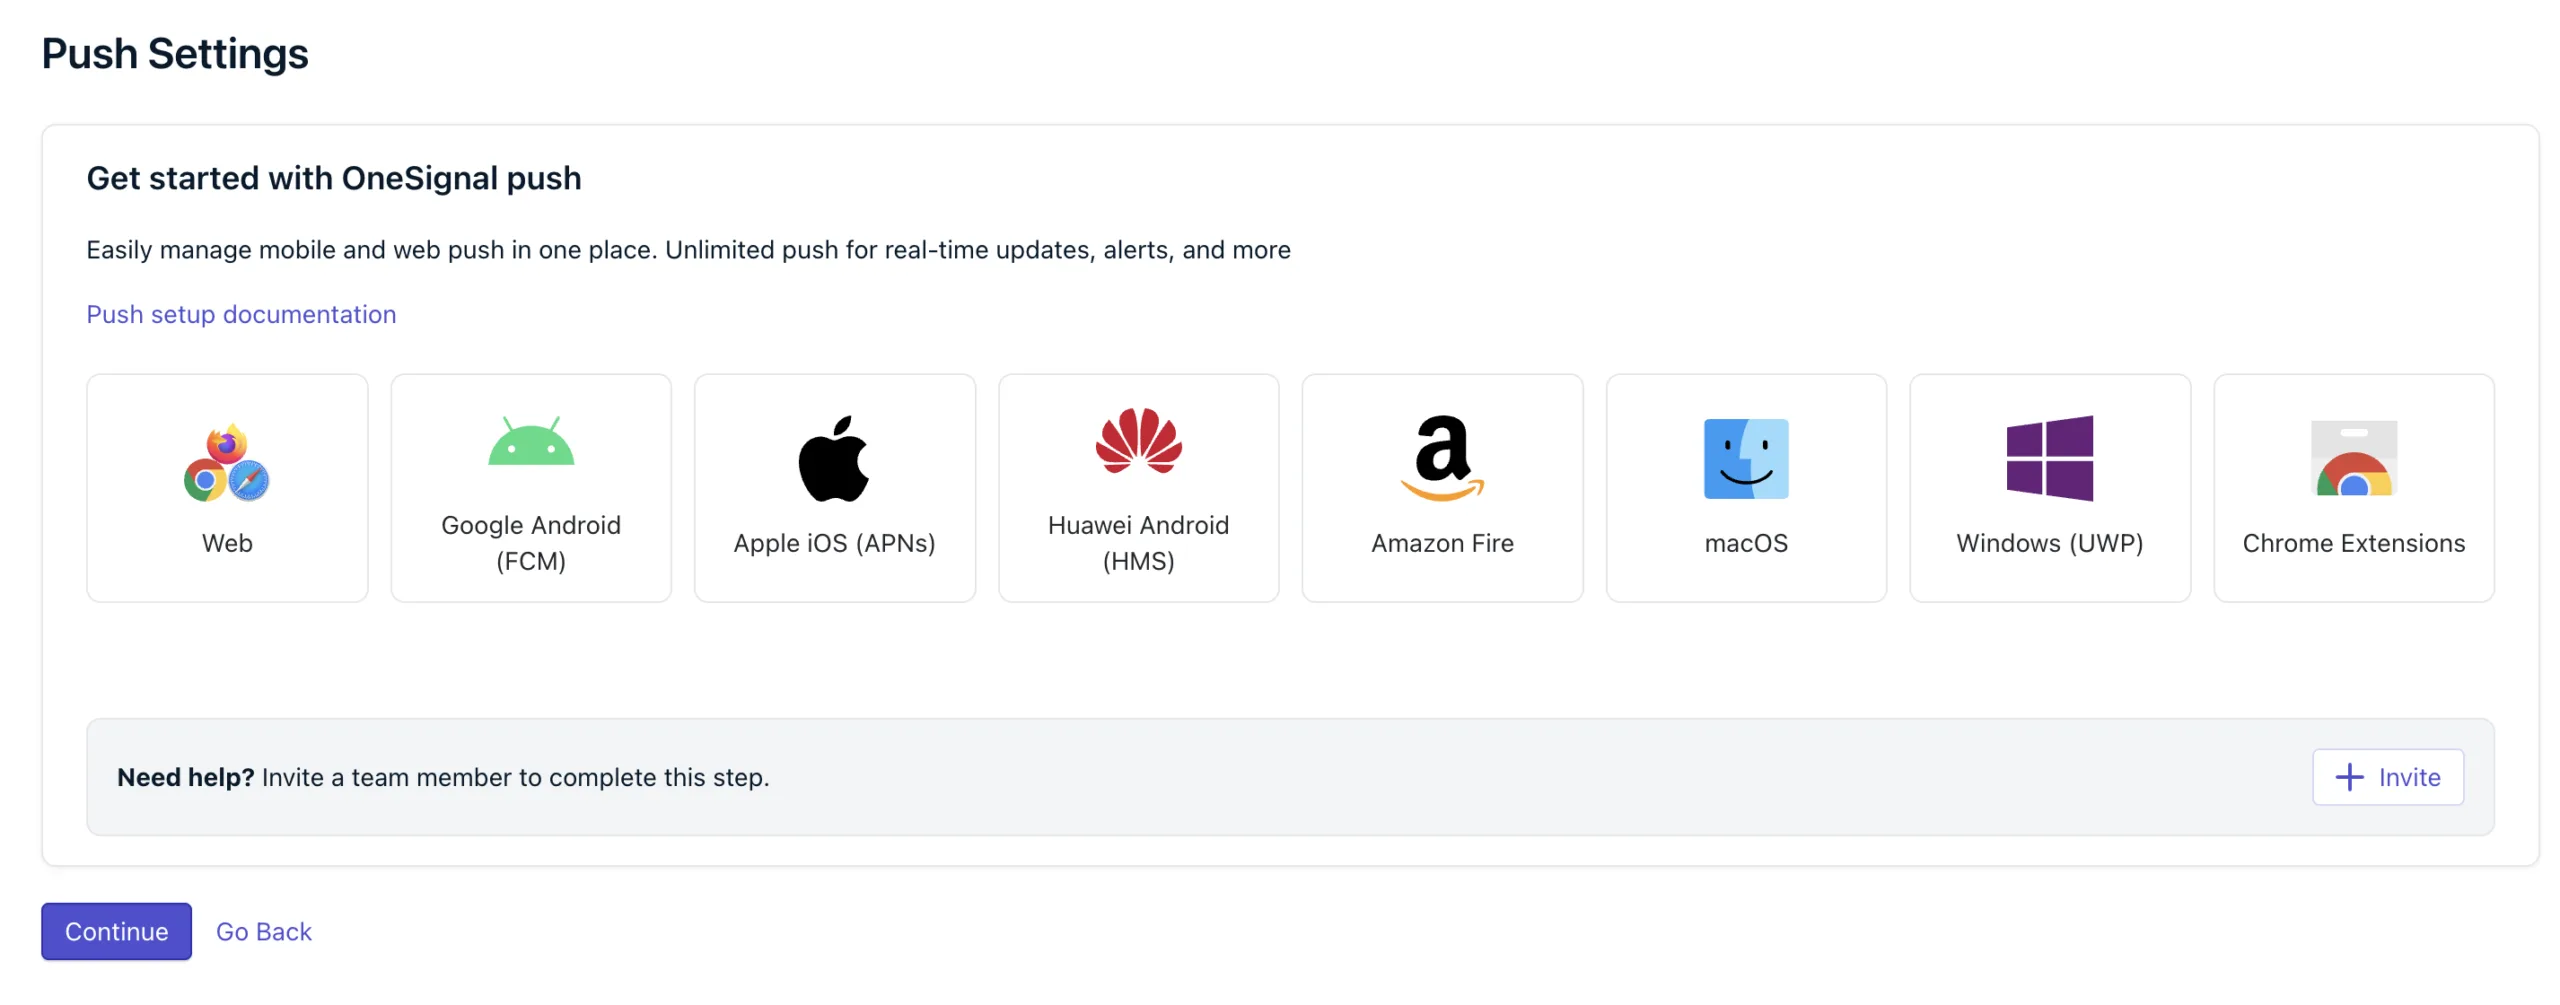
Google Android (FCM) Configuration
Section titled “Google Android (FCM) Configuration”Firebase Cloud Messaging (FCM) is Google’s push notification service for Android devices. Before OneSignal can send push notifications to your Android app, you must connect your Firebase project to OneSignal.
In a new browser tab, open the Firebase Console and sign in with your Google account.
Click Create a Project if you do not already have a Firebase project for your mobile app. If you already have a project, open it and continue to the next step.
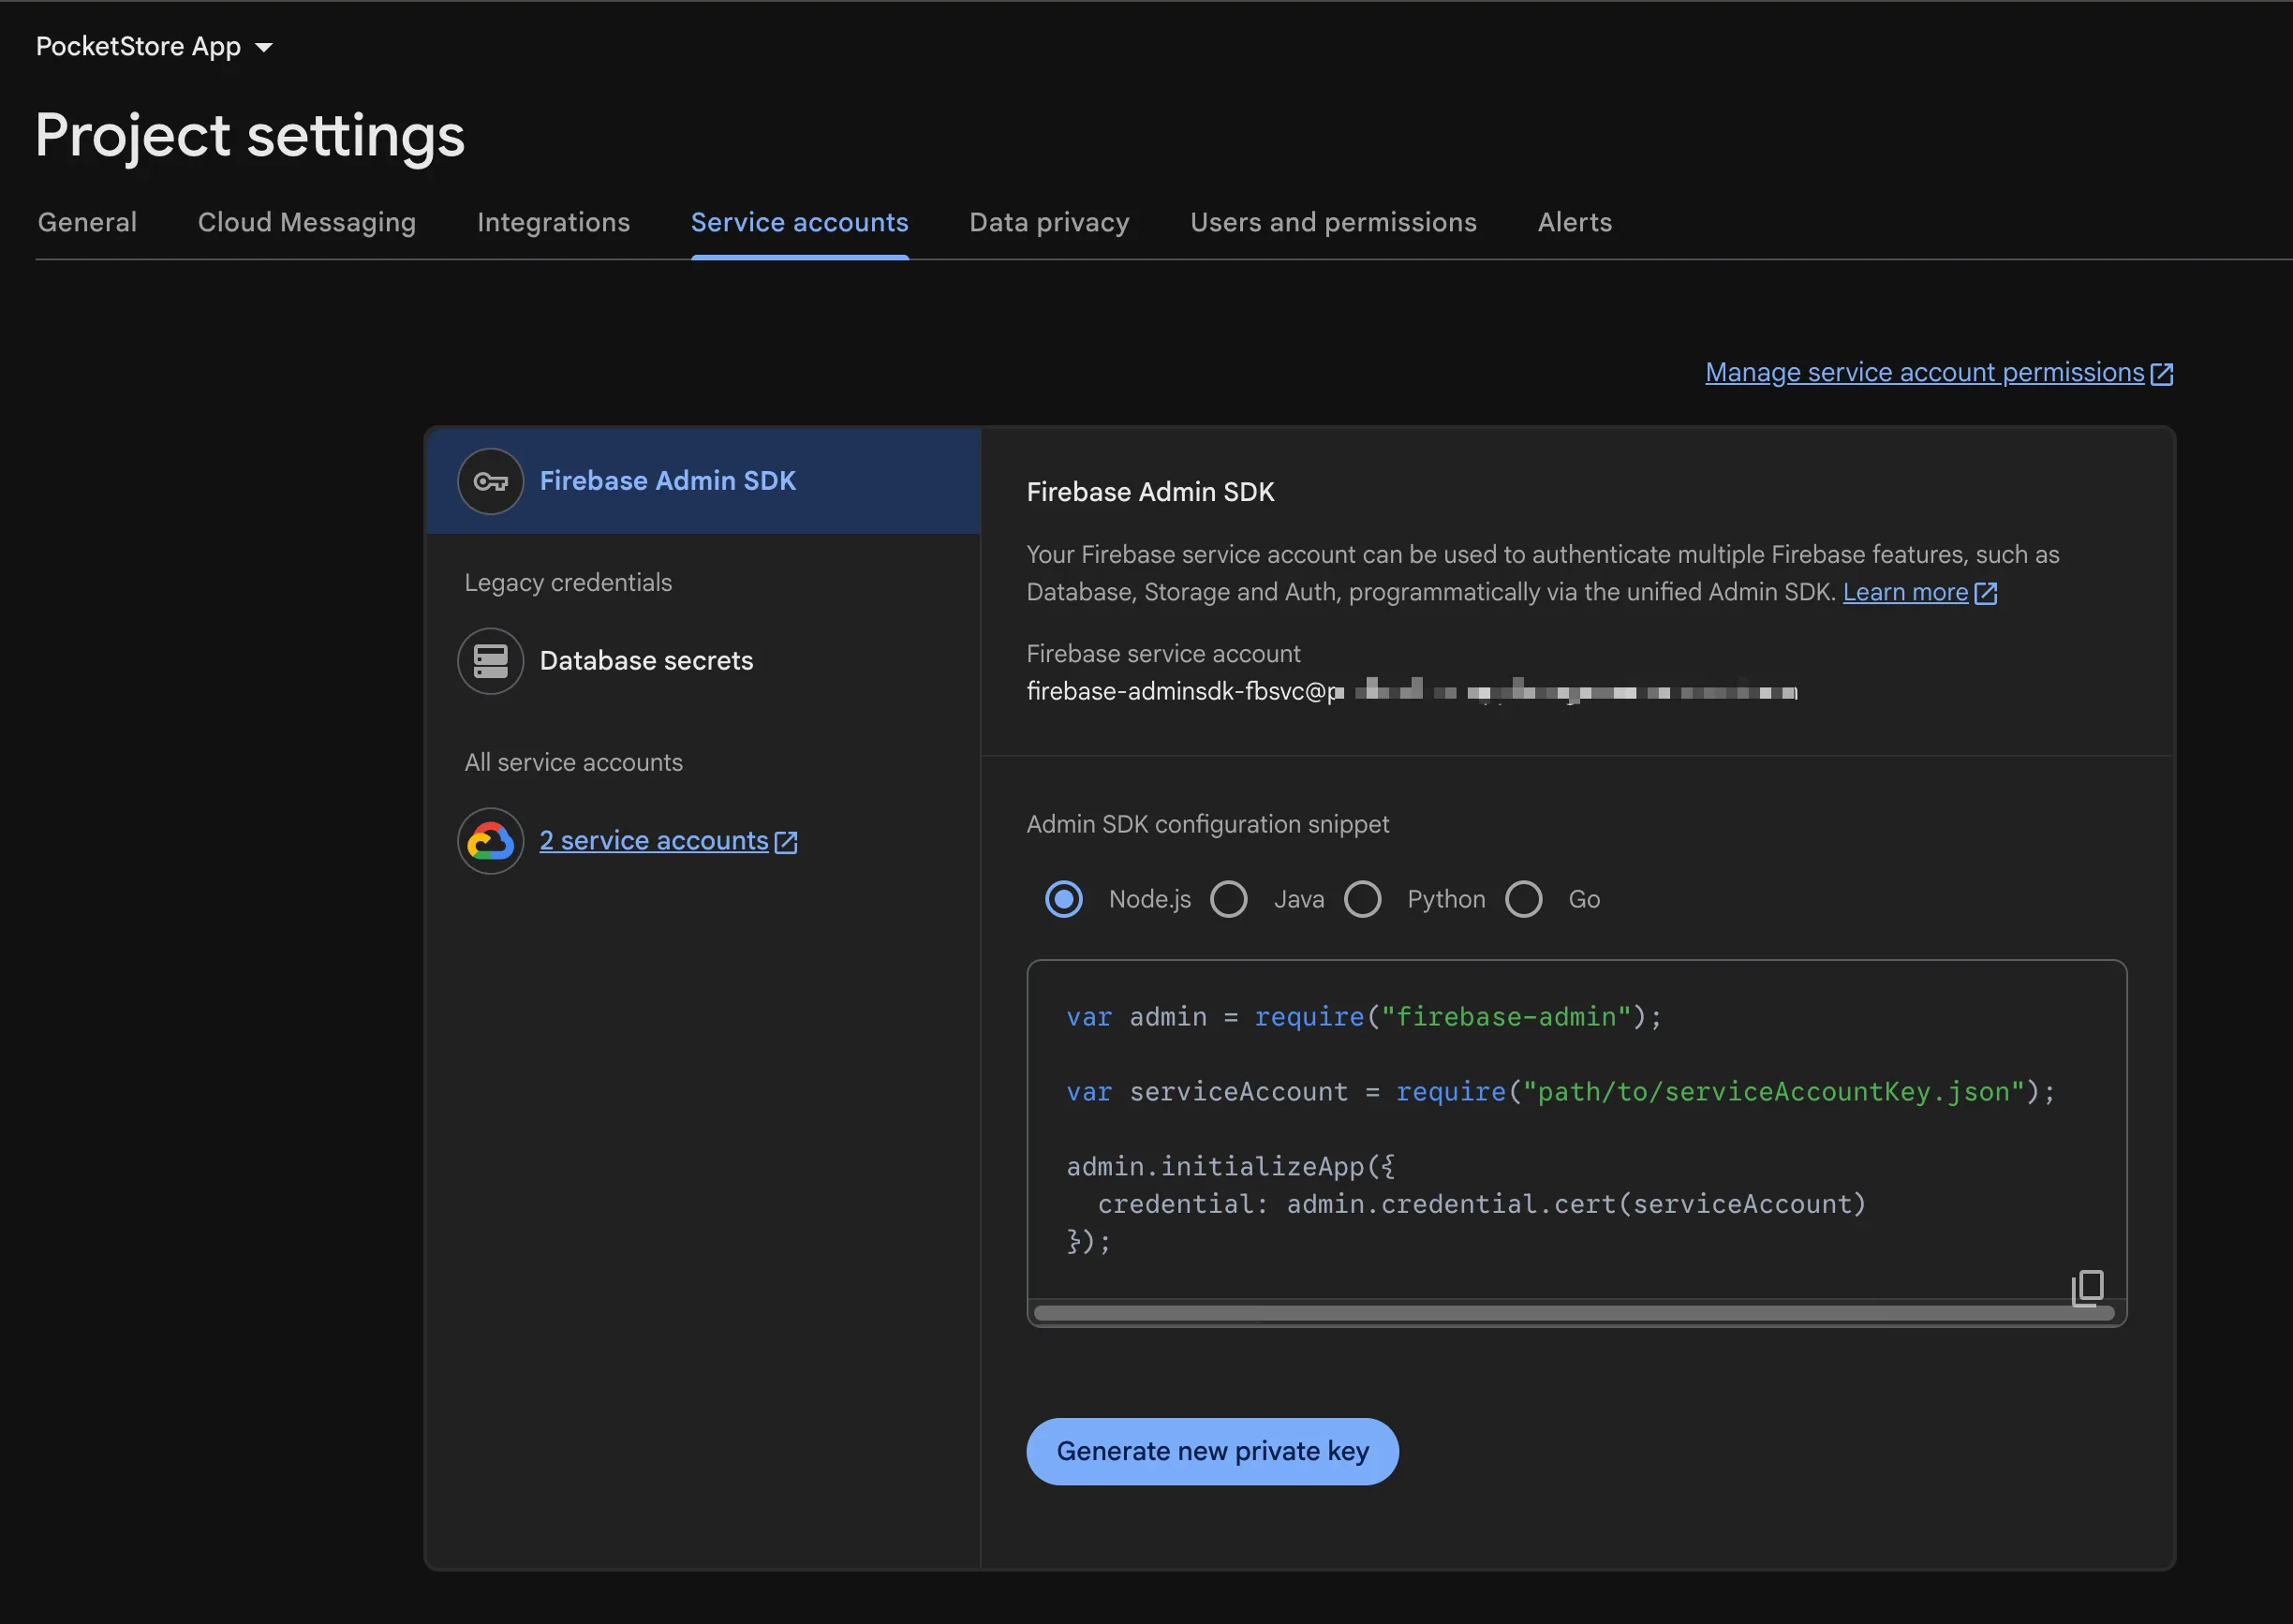
Inside Firebase, click the gear icon next to Project Overview and select Project Settings. Open the Service Accounts tab.
Click Generate New Private Key.
Firebase will download a JSON file containing your service account credentials. Keep this file secure. You will upload it to OneSignal in the next step.
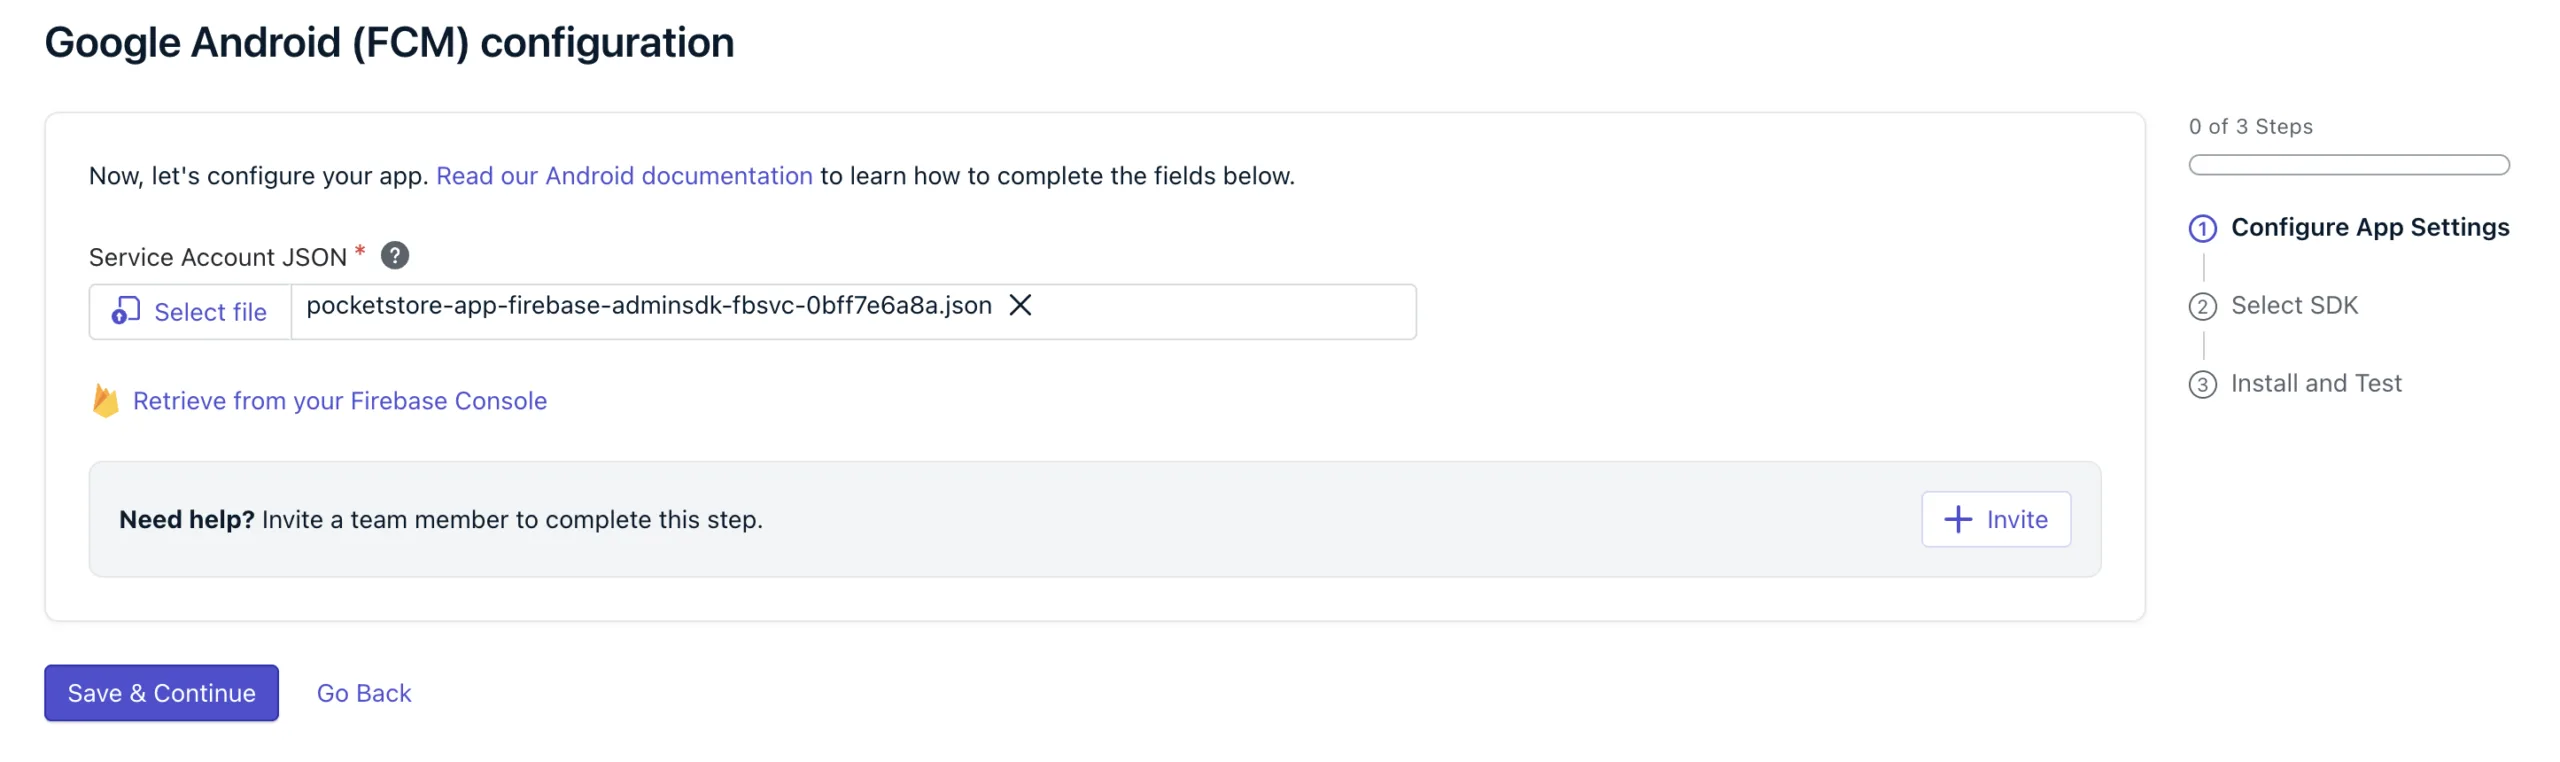
Now please return to OneSignal. Under the Google Android (FCM) configuration section, upload the JSON file you downloaded from Firebase.
Click Save.
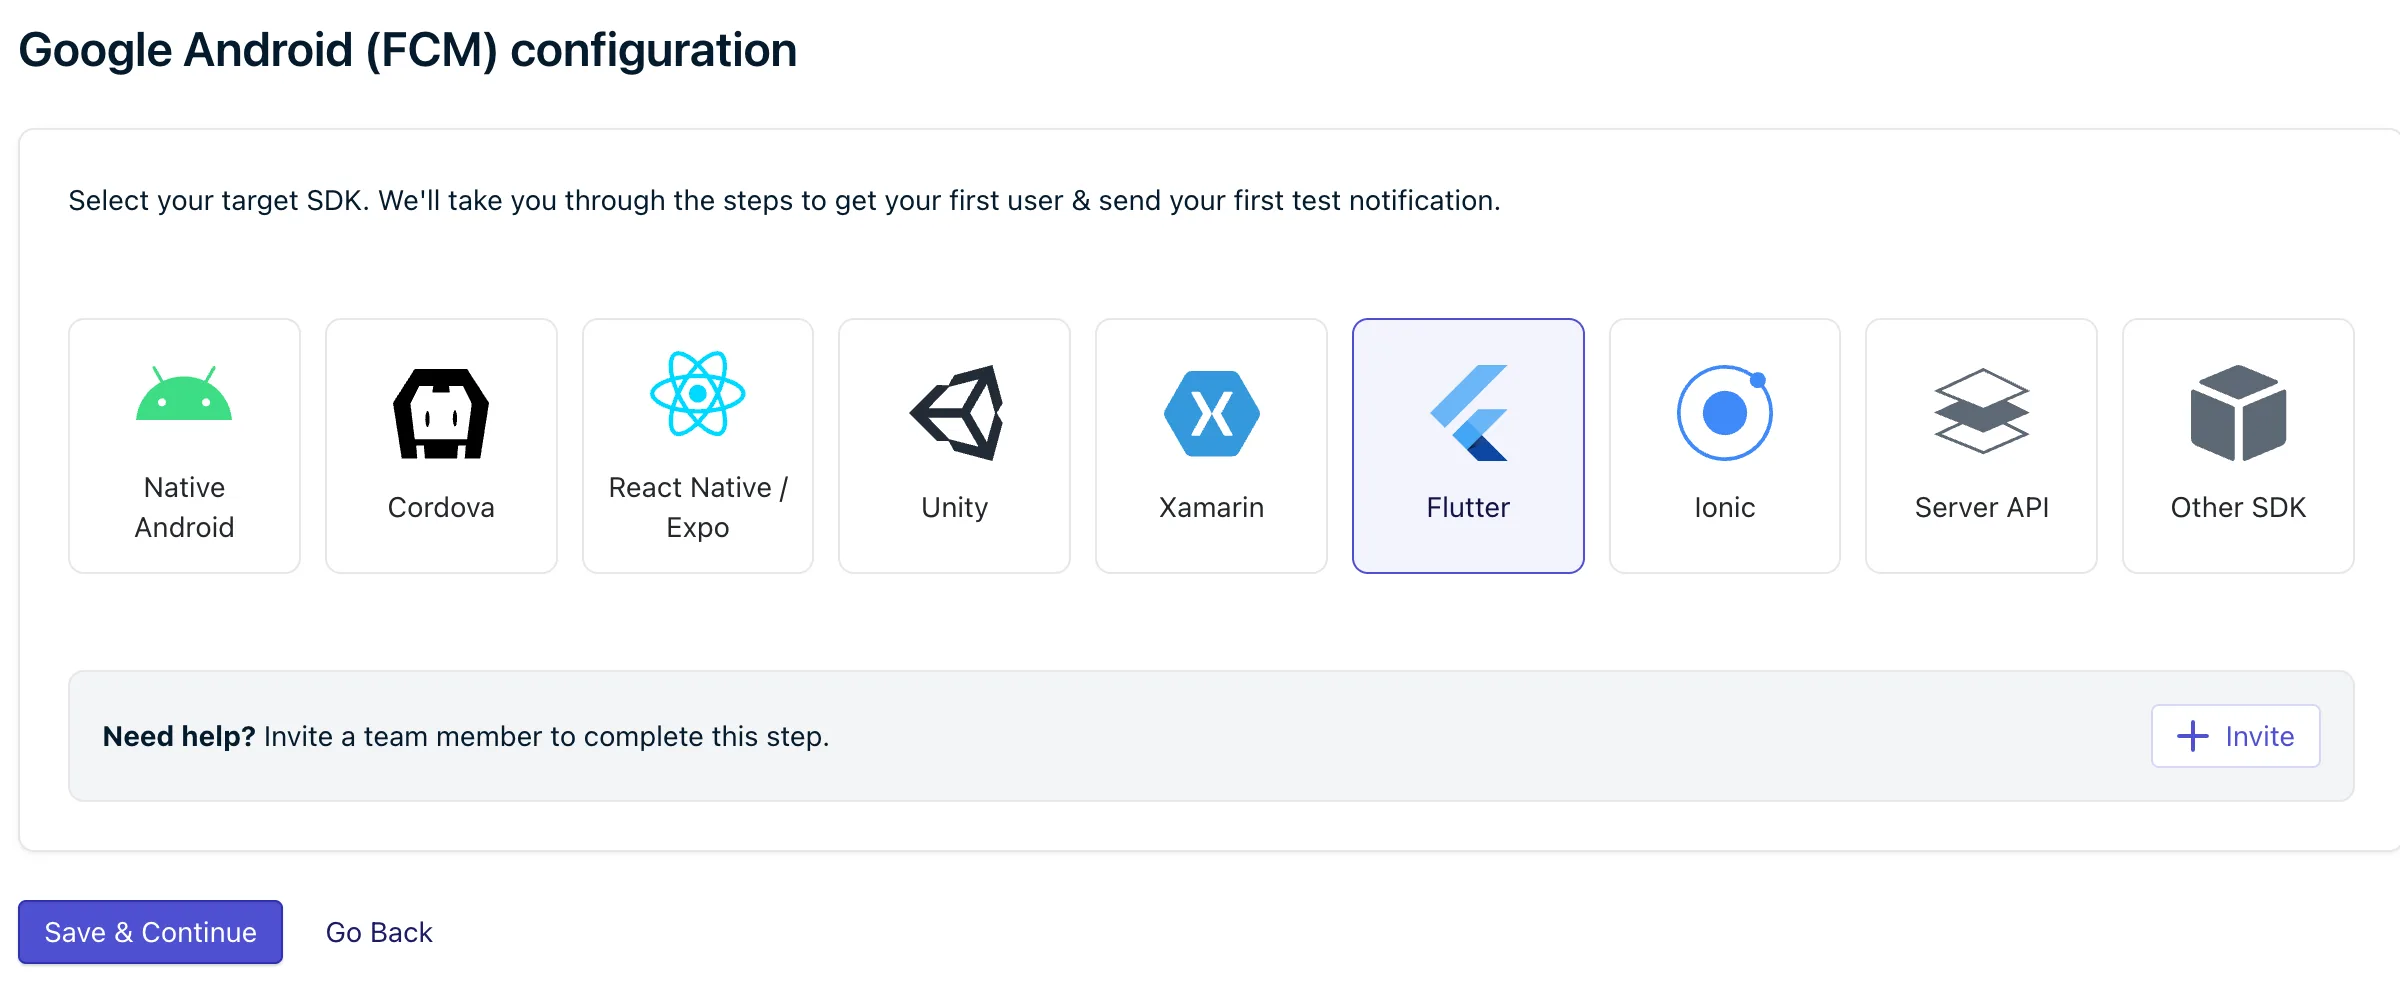
After creating your OneSignal app, OneSignal will ask you to choose a platform or SDK. Please select Flutter in this step, as PocketStore is built on Flutter.
OneSignal will then guide you through the platform configuration process. Since PocketStore handles the app implementation, you only need to complete the Firebase Cloud Messaging (FCM) setup required for Android push notifications.
Get Your OneSignal Credentials
Section titled “Get Your OneSignal Credentials”After configuring OneSignal and Firebase Cloud Messaging (FCM), you’ll need to copy your OneSignal credentials and add them to App Bridge.
These credentials allow App Bridge to communicate with OneSignal and send push notifications to your mobile app users.
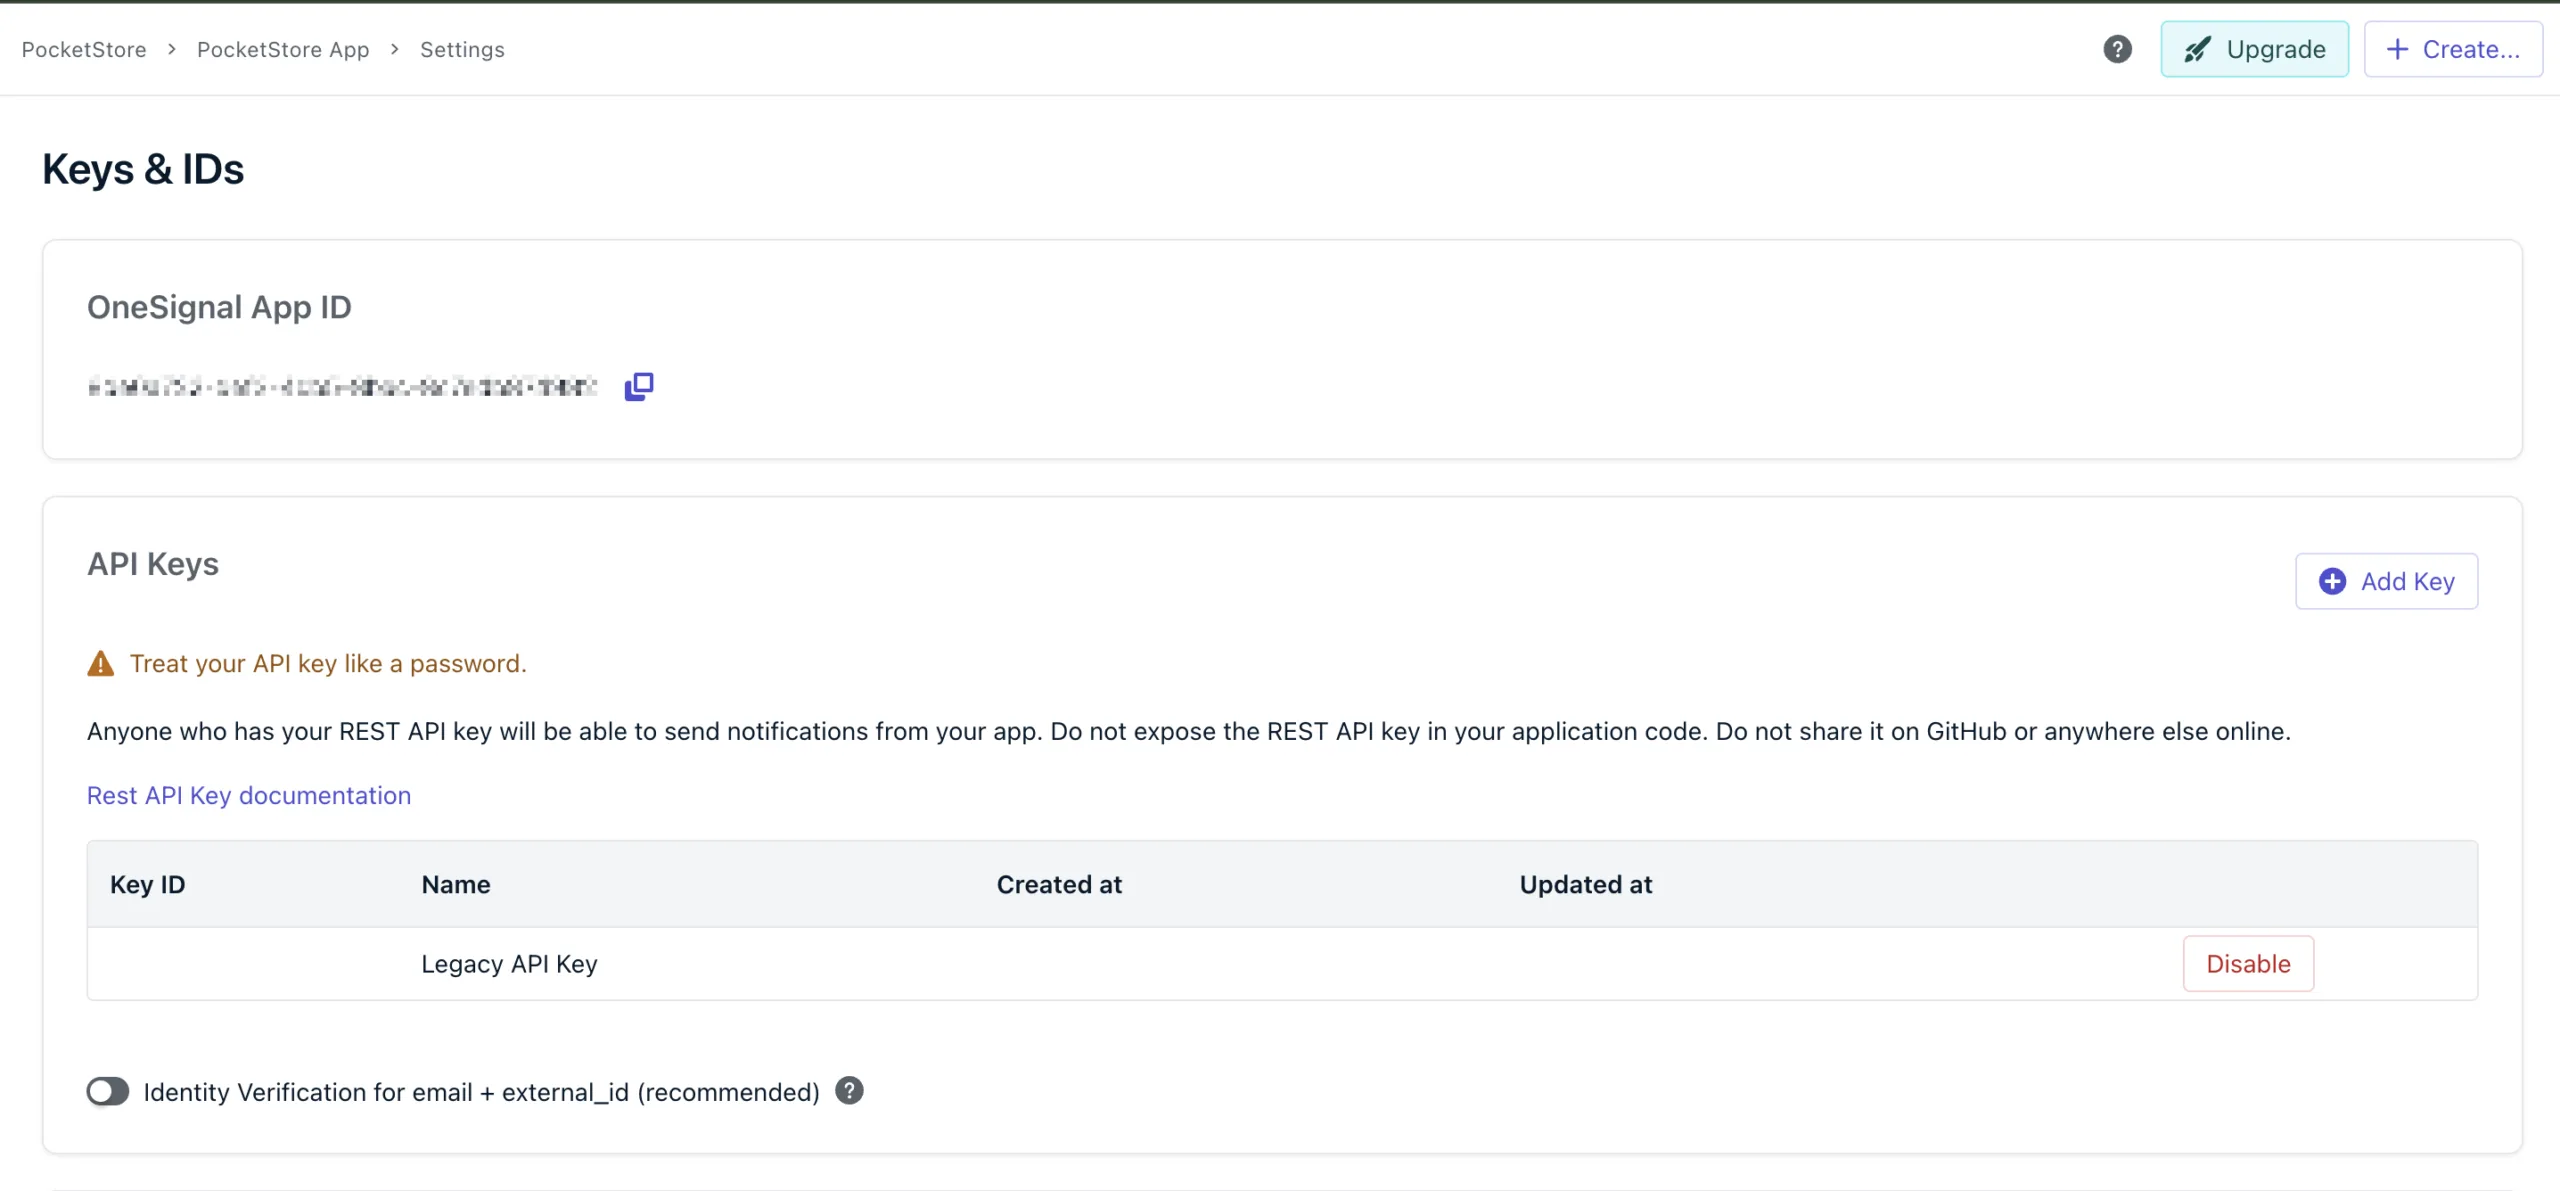
Log in to your OneSignal account and select your app. From the left sidebar, navigate to Settings → Keys & IDs.
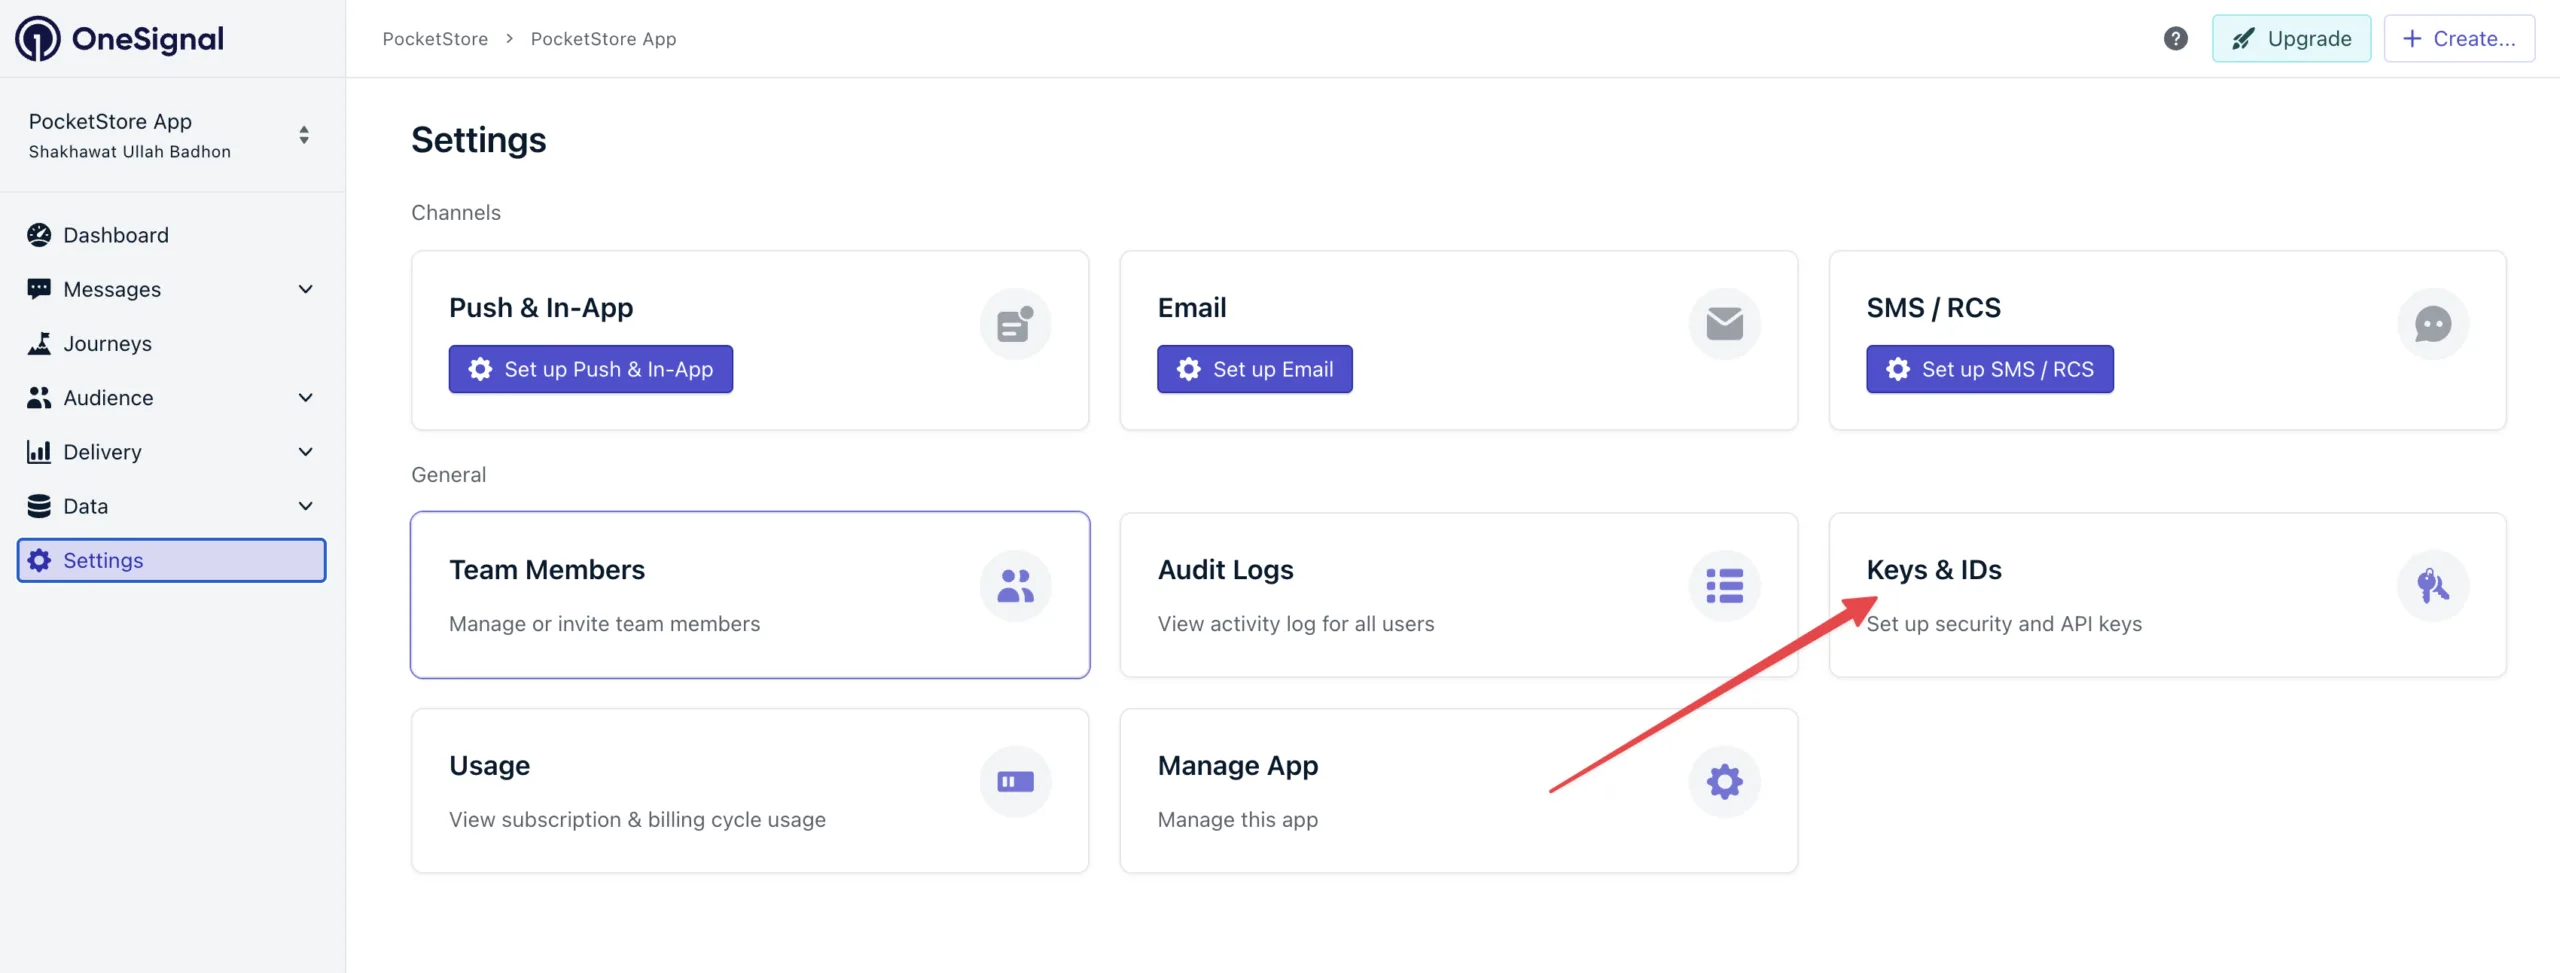
From this page, you can see the OneSignal App ID. Please copy it.
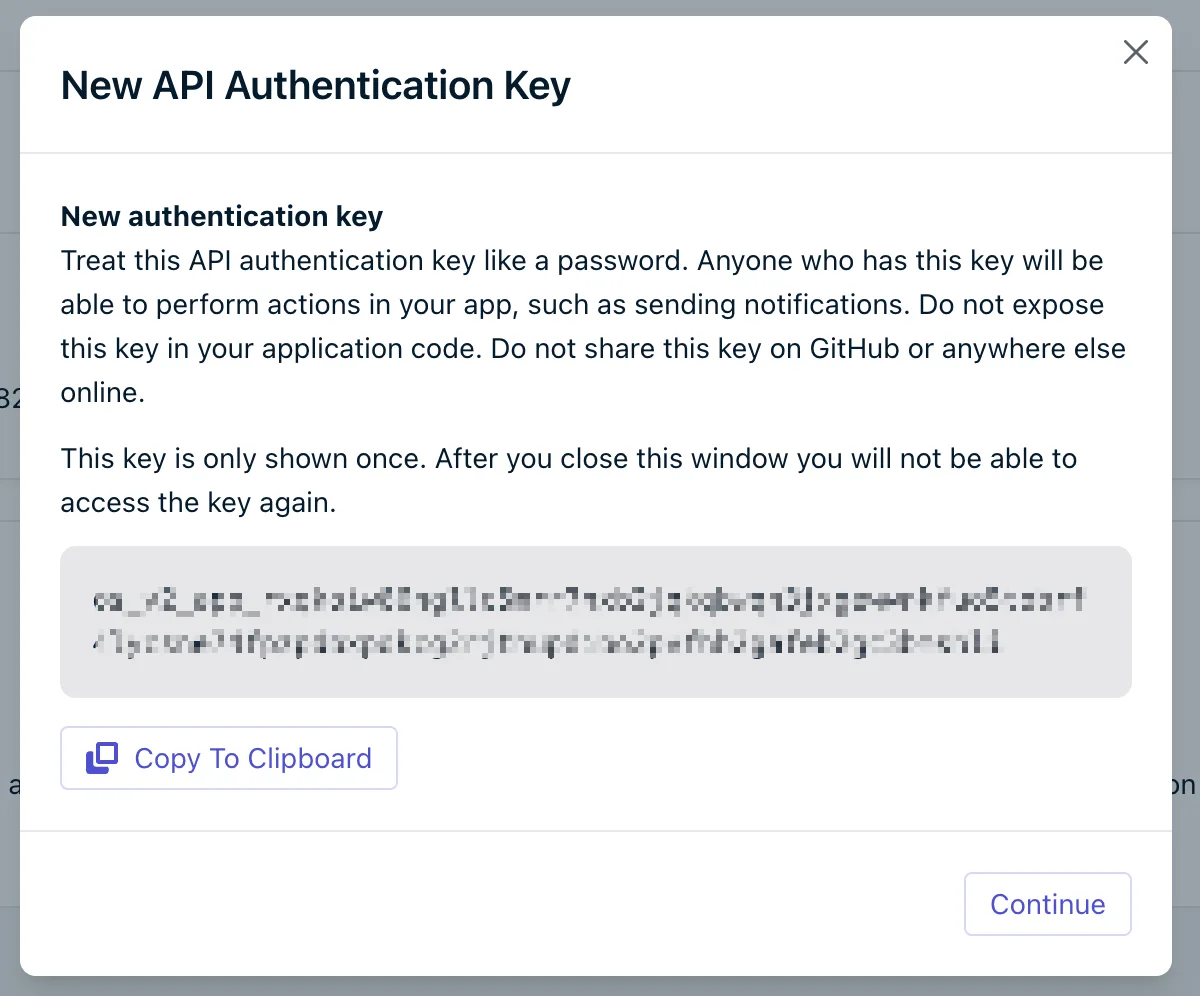
You will also be able to create a new API Key for OneSignal. Please click on the Add Key. Give your key a name and click on Continue.
Once you have done that, you will get your API Key. Please copy this so that we can connect it with AppBridge.
Now, please go to AppBridge settings and open the Push Notifications > Configurations menu. Paste in your OneSignal App ID and Rest API Key that we copied in the last step.
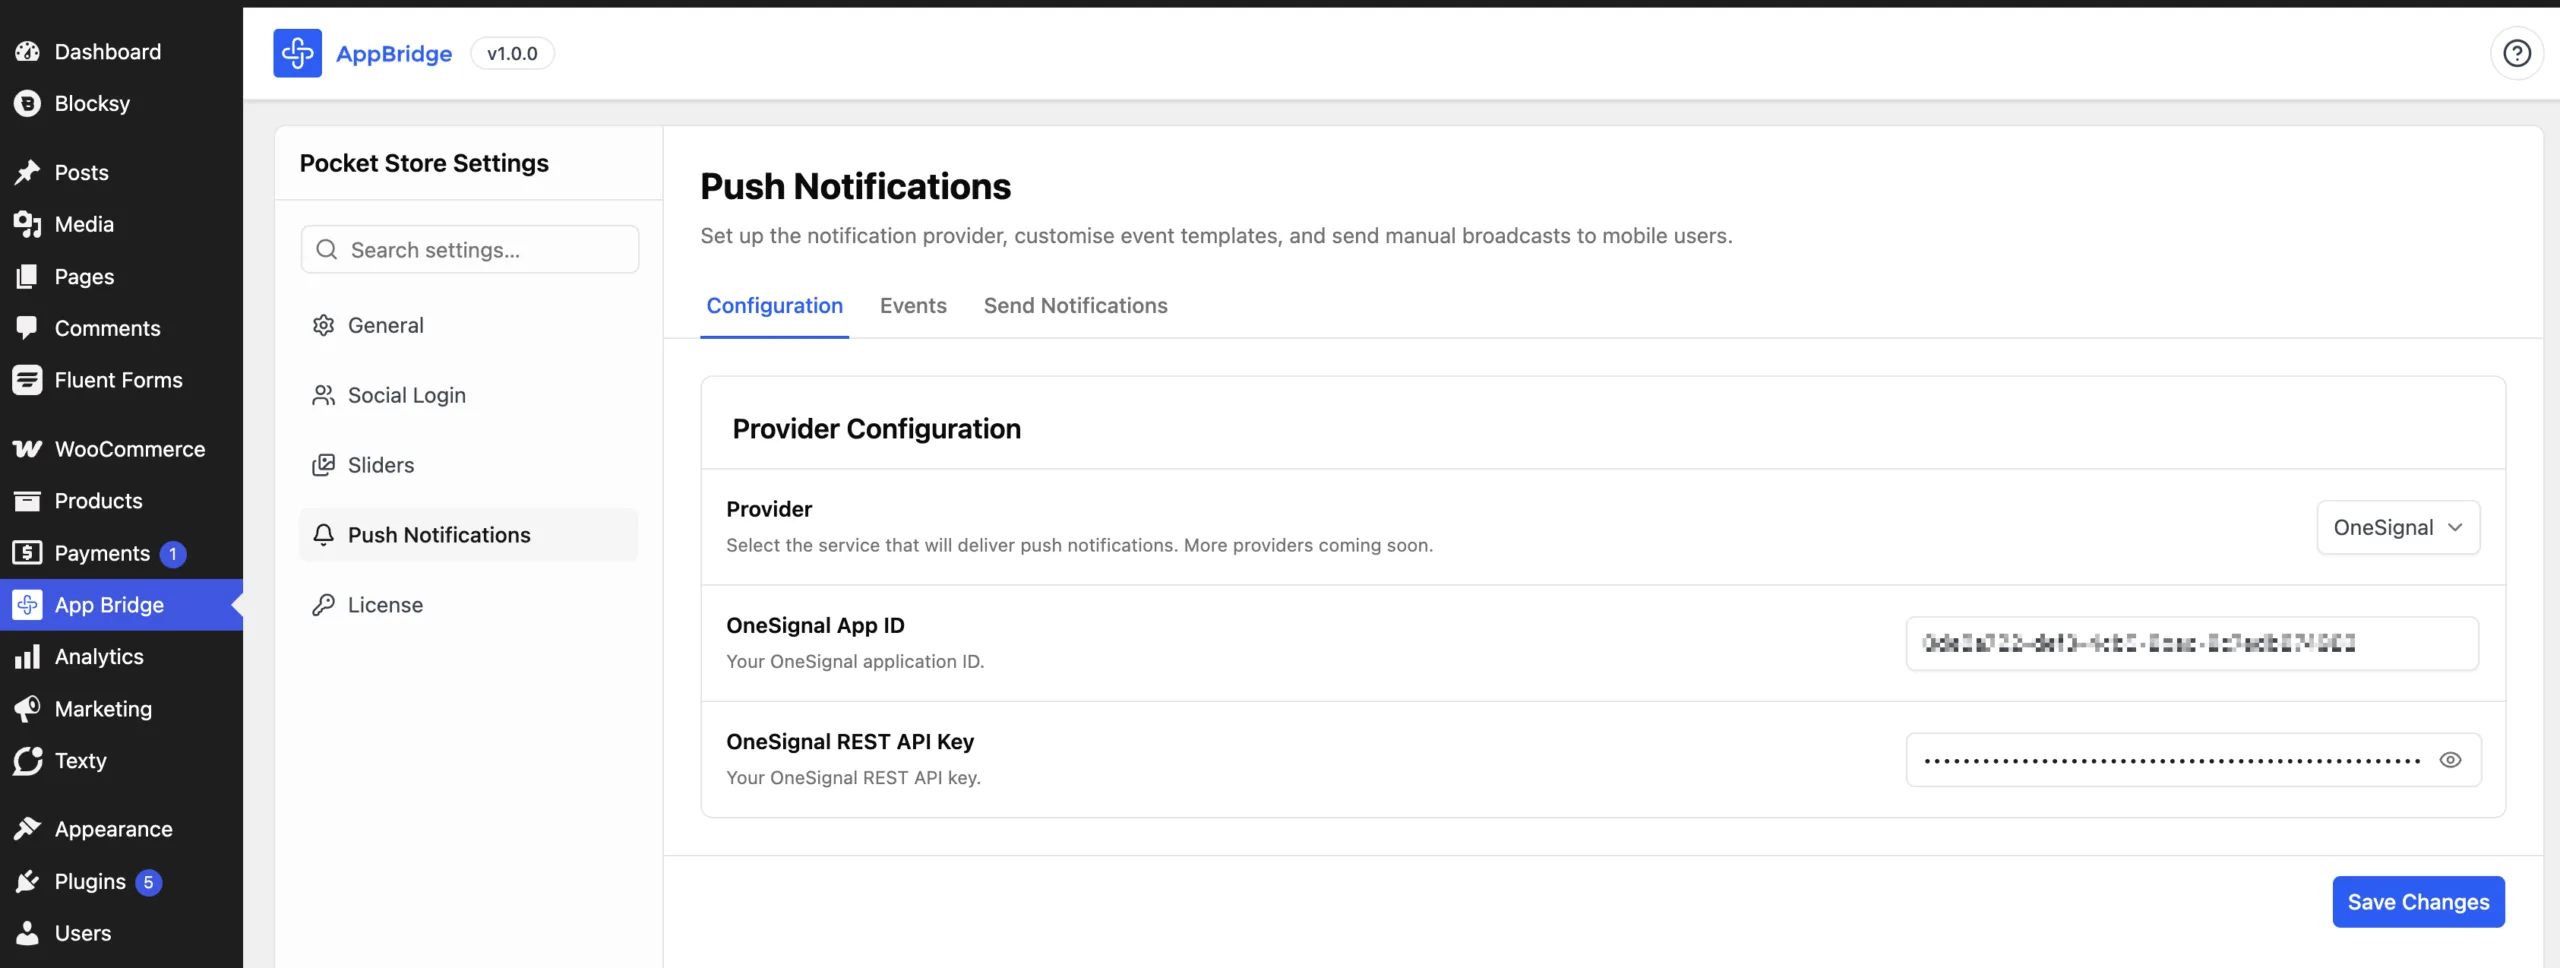
Once the credentials have been saved, App Bridge will be connected to OneSignal and ready to send push notifications to your Android and iOS app users.